Ever set up a trail camera only to find it filmed nothing but rocks and trees? Yeah, we’ve all been there. But what if your next hike could capture every critter, vista, and unexpected moment—without the guesswork?
In this guide, we’ll walk you through everything you need to know about Trail Camera Placement Tips. You’ll learn how to scout locations like a pro, avoid common mistakes (hi, “tree trunk close-ups”), and maximize your gear for epic footage. Plus, a few venting rants because even the forest gets frustrating sometimes.
Table of Contents
- Key Takeaways
- Why Trail Cameras Matter for Hikers
- Step-by-Step Guide to Perfect Placement
- Top 5 Trail Camera Placement Tips & Best Practices
- Real-Life Success Stories from Outdoor Enthusiasts
- Frequently Asked Questions About Trail Cameras
Key Takeaways
- Placement is king—height, angle, and sun exposure matter!
- Scout your spots carefully to get candid wildlife shots or scenic views.
- Avoid rookie mistakes like placing cameras too low or pointing them at bright light sources.
- Best practice? Test settings before leaving the site.
Why Trail Cameras Matter for Hikers
You might be wondering, why bother with trail cameras in the first place? After all, don’t smartphones have insanely good cameras these days?
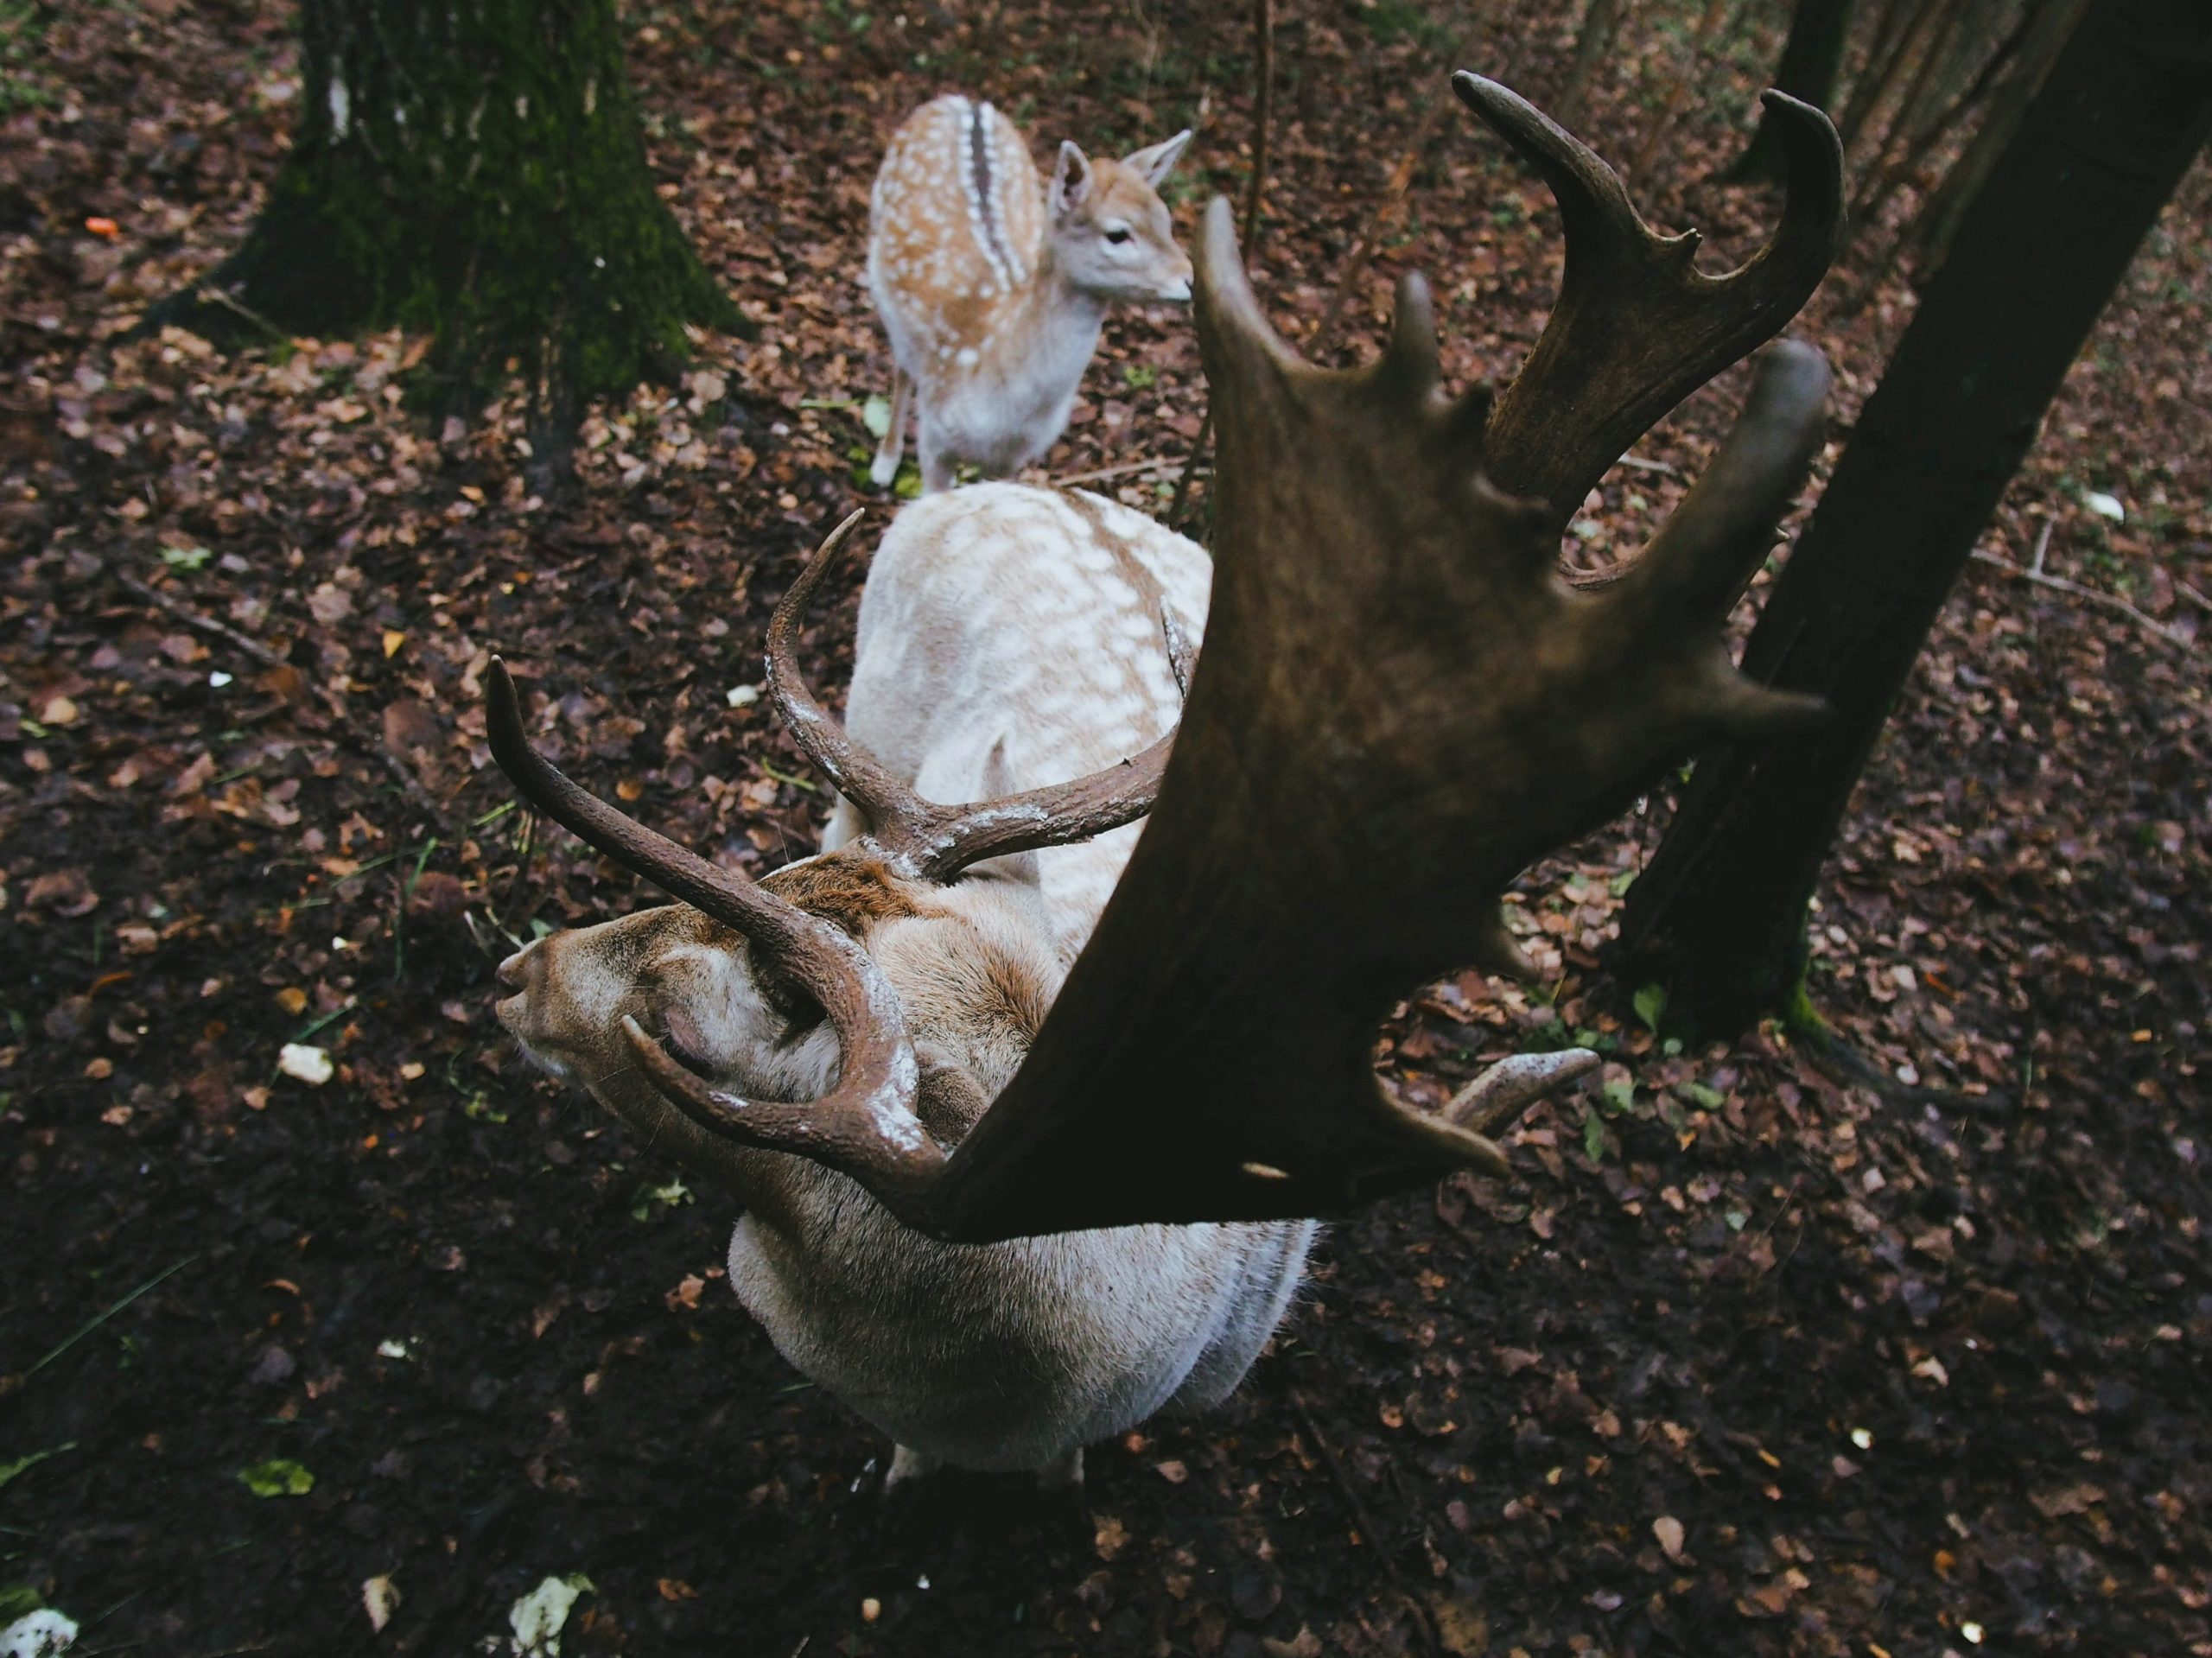
Here’s the deal: trail cameras are designed for rugged adventures. They’re weatherproof, motion-activated, and capable of taking photos/videos without you needing to babysit. Imagine coming back after a week-long trek only to discover videos of foxes playing near your campsite—or that rare bird species everyone talks about!
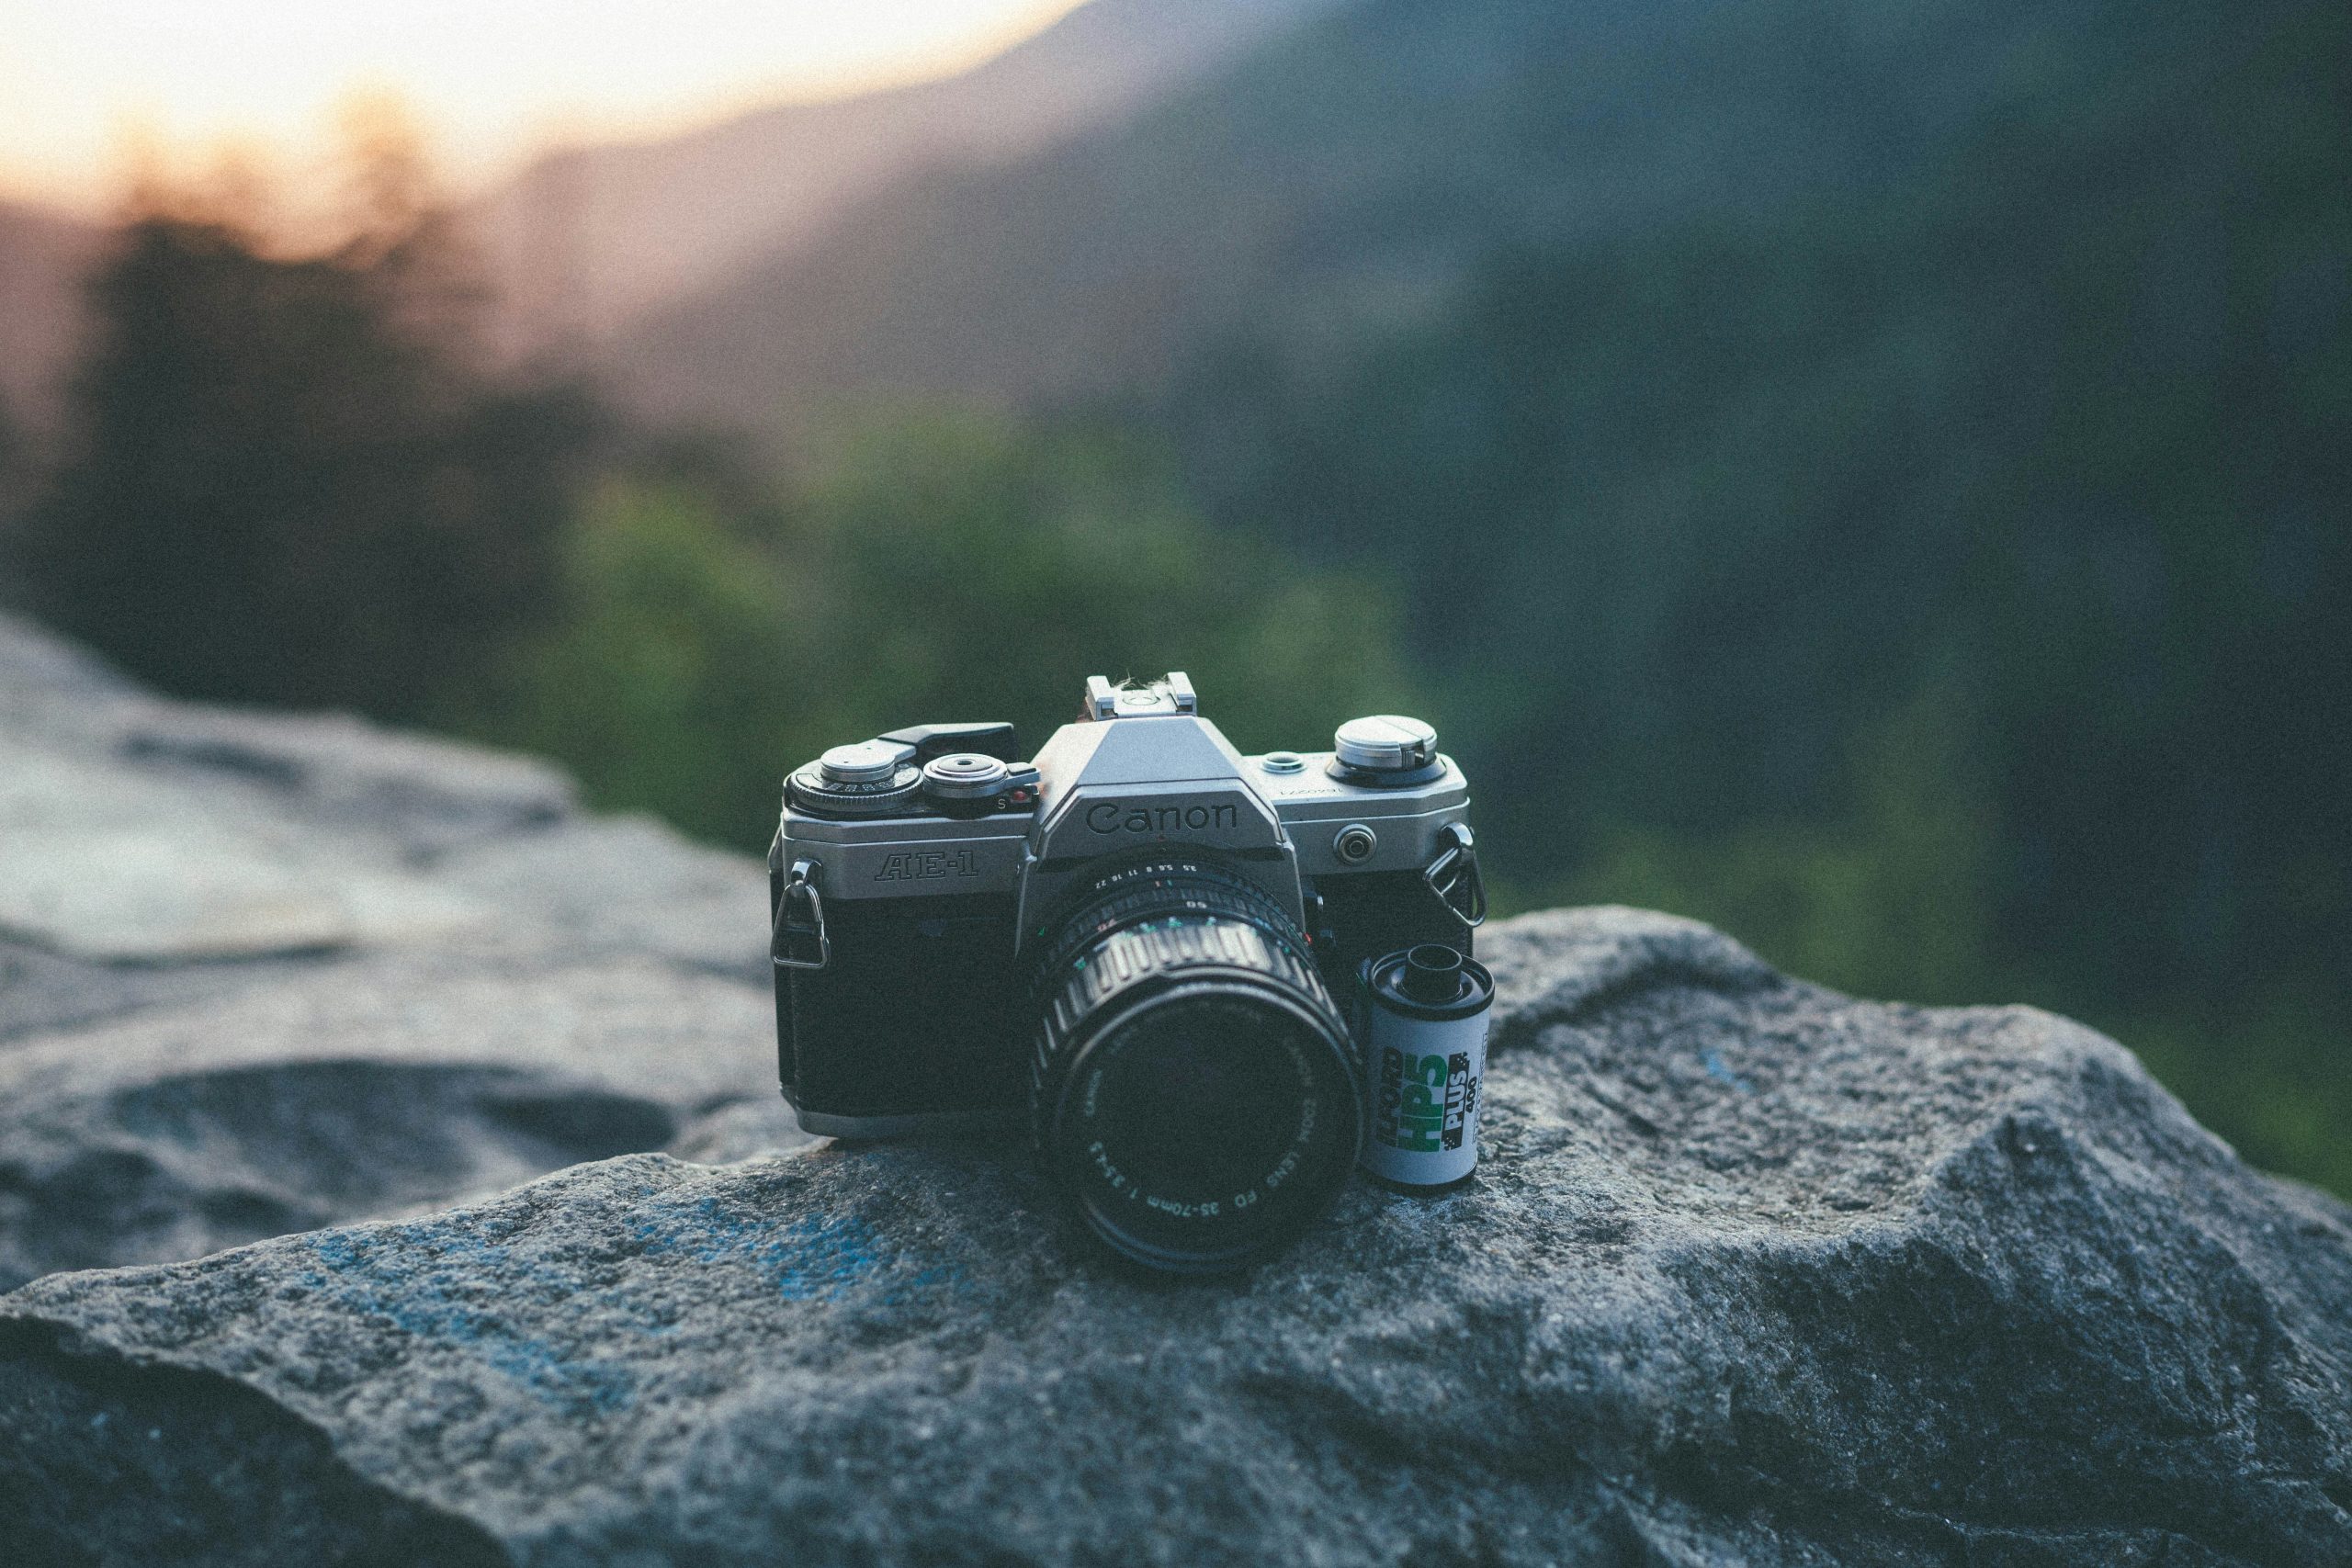
I once lugged my DSLR across three miles of steep terrain just to snap some sunset pics… only to drop it into mud. Lesson learned. A sturdy, waterproof trail camera is worth its weight in gold when you’re exploring nature’s wild side.
Step-by-Step Guide to Perfect Placement
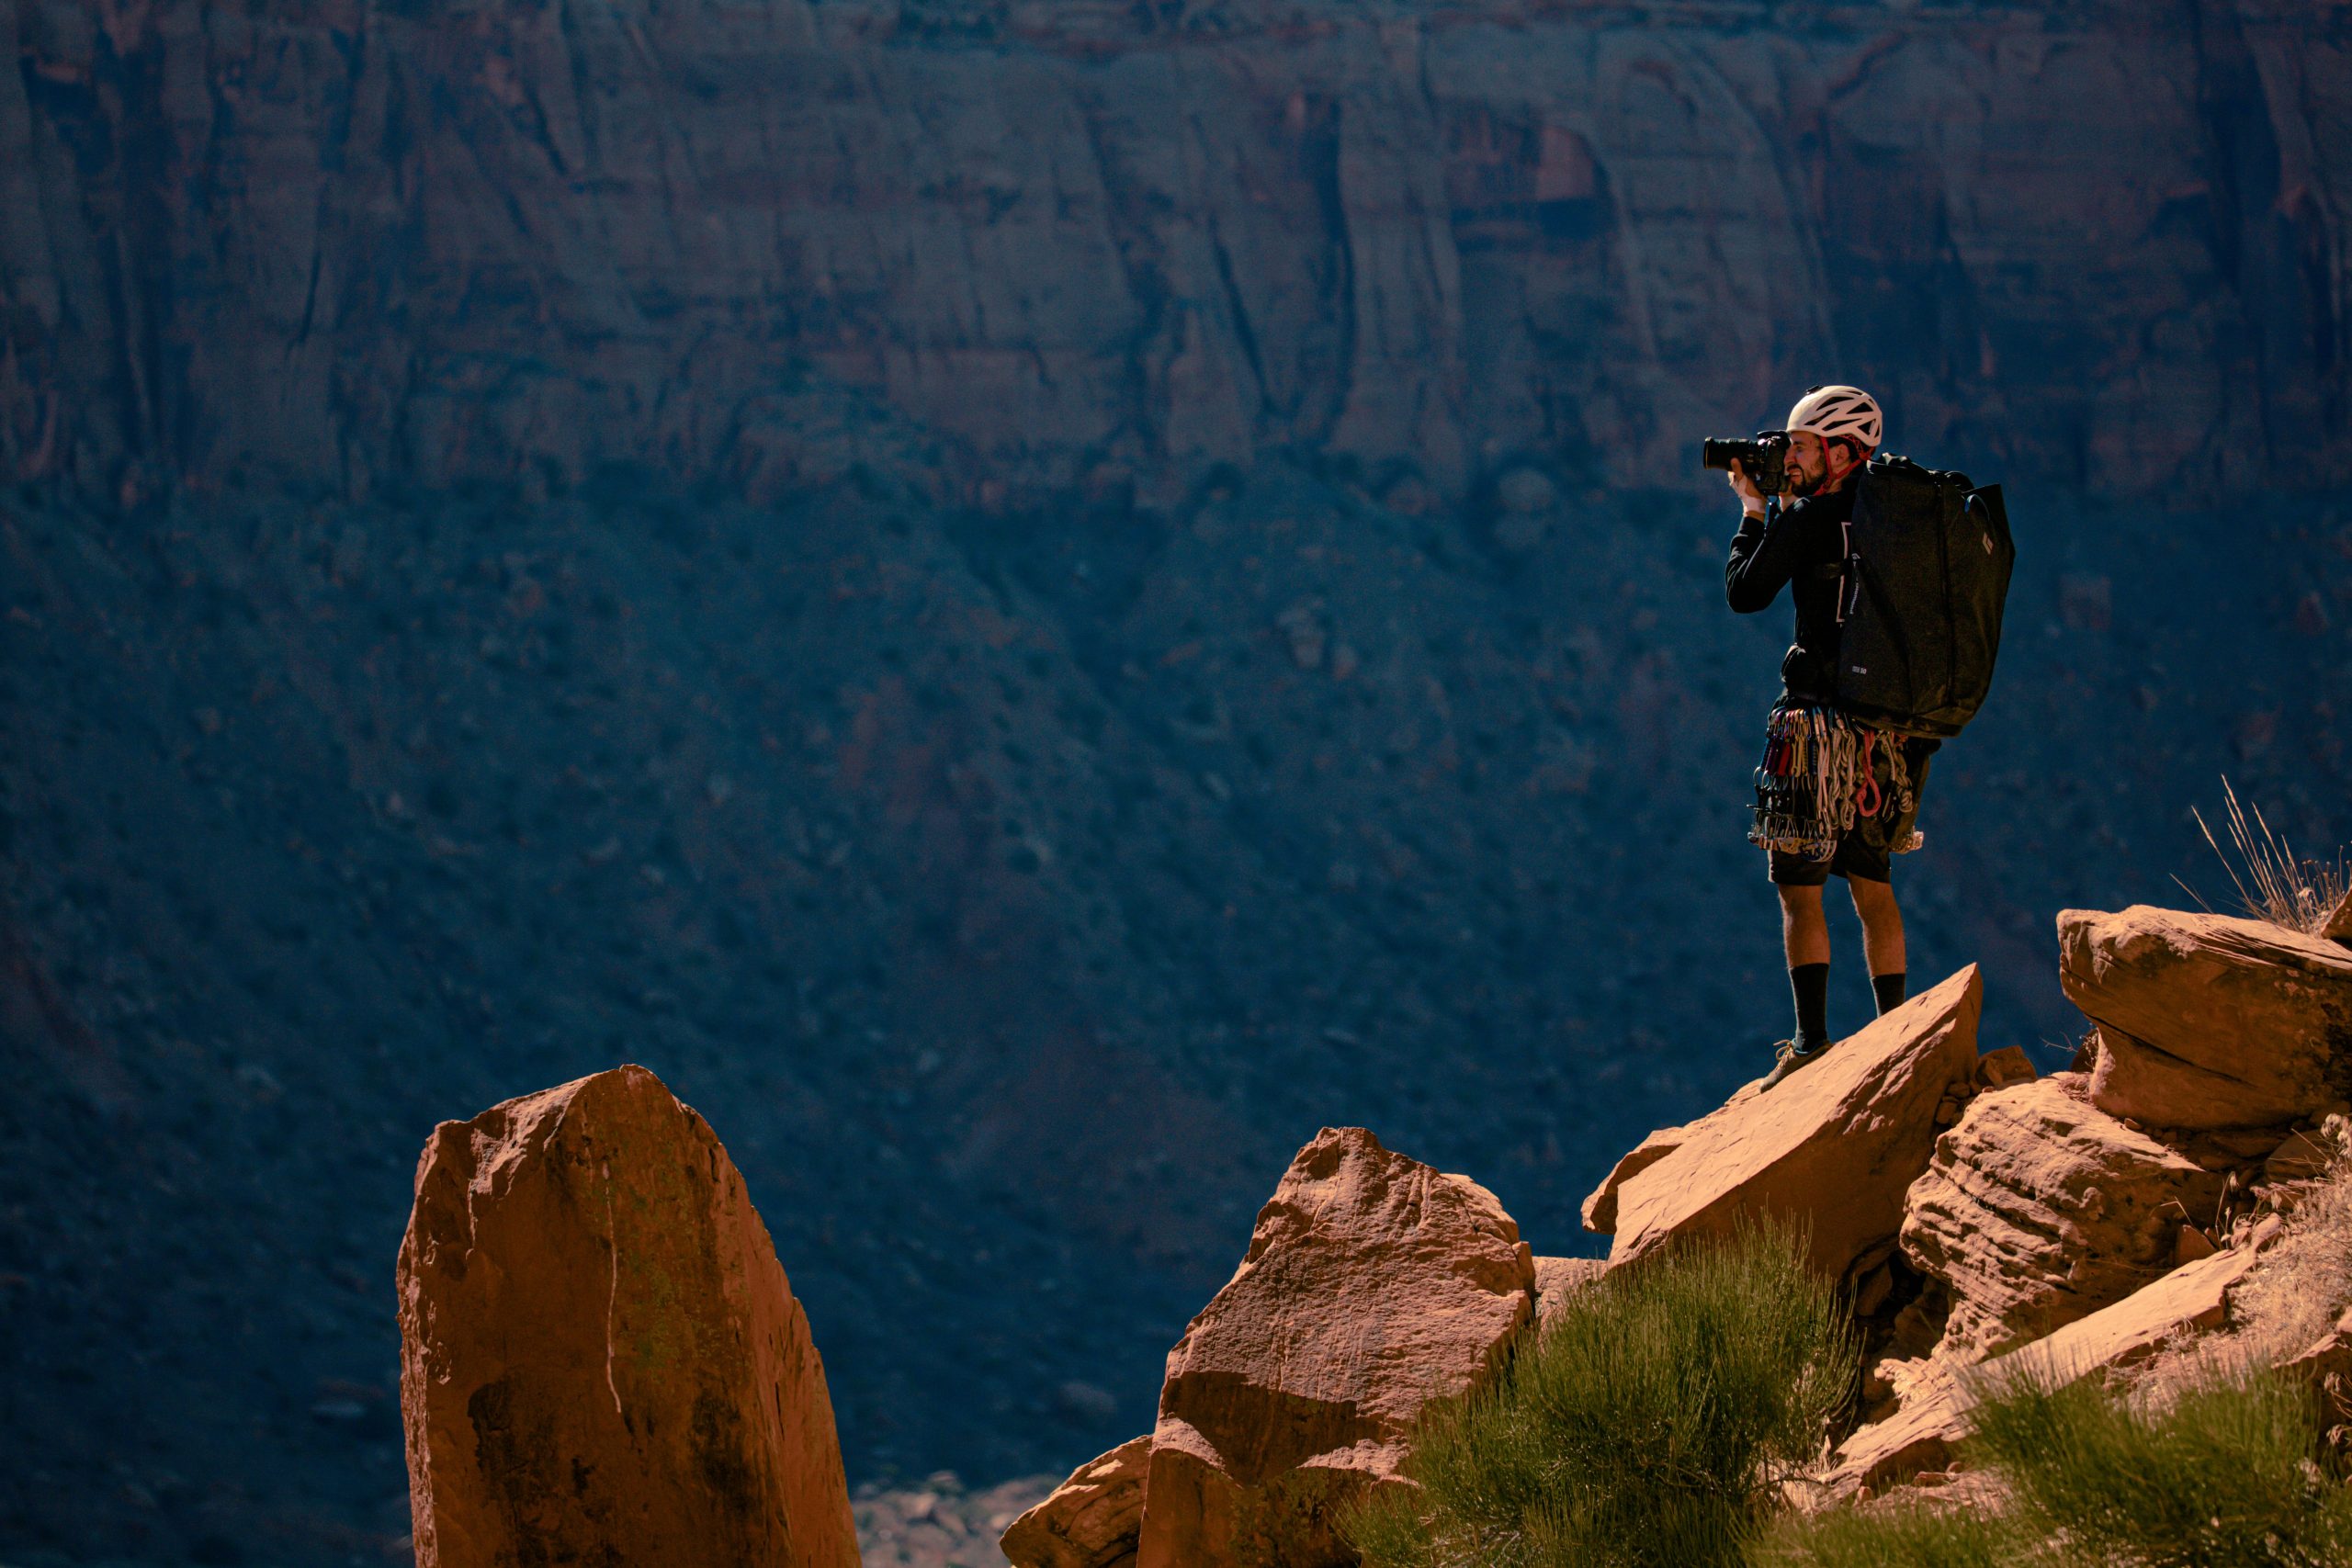
Step 1: Scout Your Location
Optimist You: “This spot looks perfect!”
Grumpy You: “Yeah, unless you want raccoon selfies instead of mountain vistas. Ugh.”
Before setting up your camera, take time to explore potential locations:
- Look for areas with high animal activity—paths, feeding grounds, watering holes.
- Check for scenic viewpoints where landscapes naturally steal the show.
- Avoid overly dense brush; it can block movement detection sensors.
Step 2: Choose Height and Angle Wisely
Cameras placed too high miss details, while ones placed too low risk blurry squirrel selfies. Aim for an average height of 4–6 feet off the ground, angled slightly downward. This ensures both critters and humans stay in frame.
Step 3: Consider Light Exposure
“Picture-perfect lighting” isn’t just Instagram jargon—it applies here too. Position cameras away from direct sunlight during peak hours unless you enjoy overexposed clips. North-facing setups often work best since they minimize harsh shadows.
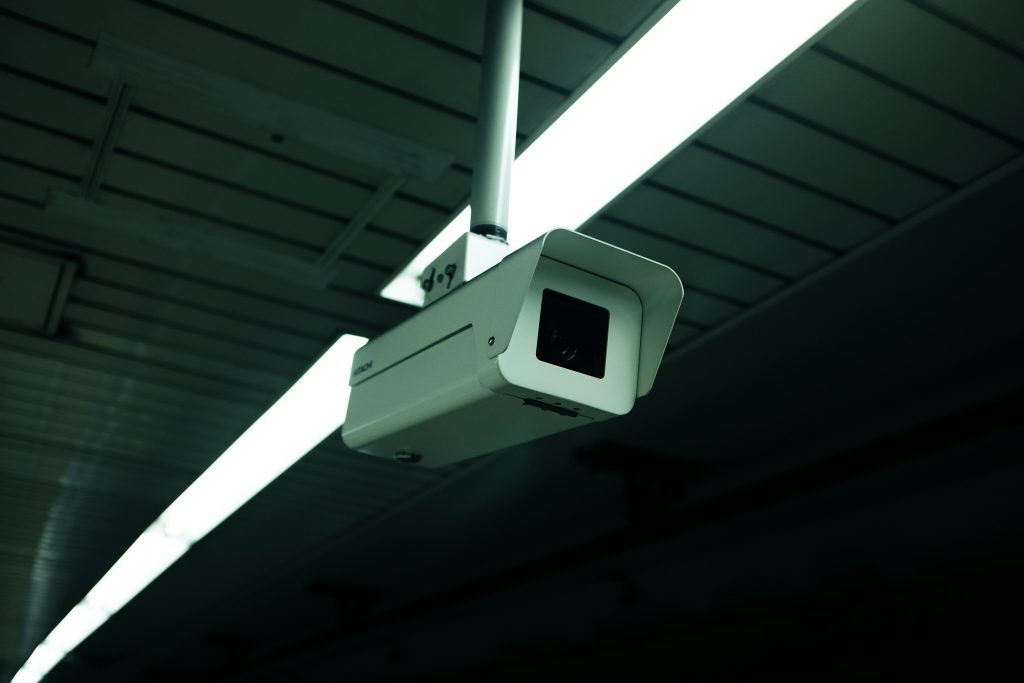
Step 4: Securely Mount Your Camera
Pick sturdy trees or mounts to prevent theft or damage by wind/weather. Use straps, brackets, or screw-in mounts for stability.
Step 5: Test Before You Leave
Don’t skip this step—the last thing you want is returning to hundreds of empty frames. Walk past the lens and review test shots/footage to confirm framing and focus are correct.
Top 5 Trail Camera Placement Tips & Best Practices

- Mistakes Happen: Once, I accidentally left my camera facing directly into the sunrise. The result? Hours of blinding light ruining what could’ve been great footage.
- Less Is More: Resist the urge to set up multiple cameras randomly. Focus on quality over quantity.
- Play Detective: Look for signs of wildlife—scat, tracks, chewed bark—to pinpoint hotspots.
- Embrace Technology: Some models offer apps for live viewing—game changer.
- Ditch Generic Settings: Customize sensitivity levels based on terrain and animal size.
Real-Life Success Stories from Outdoor Enthusiasts
Take Sarah, a dedicated hiker whose trail camera captured not one but TWO black bears casually strolling by her favorite lookout point. That video went viral among her friends and fueled countless conversations around conservation efforts.
Then there’s Mike, who rigged his camera along a remote riverbank and discovered otters frolicking daily. His footage became part of a local eco-tourism campaign!
Frequently Asked Questions About Trail Cameras
Where should I place my trail camera?
Choose spots with natural wildlife traffic patterns, like trails, food sources, or watering holes. Avoid areas prone to theft or extreme weather conditions.
What’s the best angle for mounting?
Aim for 4–6 feet high, angled slightly downward toward expected paths of motion.
Can solar-powered trail cameras save energy?
Absolutely! Solar panels extend battery life, especially in sunny environments.
How do I protect my camera from theft?
Use lockable cases or disguise placement using camouflage wraps.
Conclusion
Hiking and outdoor exploration shouldn’t mean missing out on incredible moments. With the right Trail Camera Placement Tips, you can document breathtaking landscapes, elusive wildlife, and unforgettable memories—all hands-free. Just remember to scout smartly, test thoroughly, and embrace those small victories (like nailing the perfect shot).
Now go ahead, secure that tripod, adjust that lens—and maybe bring extra snacks. Because patience pays off in the great outdoors.
Oh, and one final thought:
Like Pokémon Go, catching ‘em all starts with preparation—but way cooler rewards await.
*Chef’s kiss.* 🌲📸