Ever spent hours editing your hiking footage only to end up feeling like it’s missing… soul? Yeah, we’ve all been there. Between shaky GoPro clips and that one panoramic shot that looks straight-up blurry (oops), turning raw adventure footage into something watchable can feel like climbing Mount Everest blindfolded.
In this guide, you’ll learn exactly how to tackle Adventure Video Editing Tips like a pro. From choosing the right equipment to mastering quick but cinematic edits, you’ll have everything you need to make your hiking videos as epic as the trails themselves. Let’s dive in!
Table of Contents
- Key Takeaways
- Why Are Adventure Video Edits So Tricky?
- Step-by-Step Guide to Adventure Video Editing
- 6 Tips for Polished Outdoor Footage
- Real-Life Example: TrailCamPro’s Viral Success Story
- Frequently Asked Questions About Adventure Editing
- Conclusion
Key Takeaways
- Your camera settings matter—underexposed footage is practically uneditable.
- A solid structure keeps your edit engaging without overloading transitions.
- Mistakes happen; embrace them—they add authenticity!
- Leverage royalty-free music libraries for better emotional storytelling.
- Rant alert: Avoid using too many drone shots unless necessary; people get bored fast!
Why Are Adventure Video Edits So Tricky?
Hiking content comes with its own set of quirks. Here’s why editing these videos feels harder than descending steep scree slopes:
- Shaky Footage: That bumpy downhill jog? It’s not just hard on your knees—it’s brutal for viewers’ eyes.
- Overwhelming Amounts of Material: Between time-lapses, drone flights, and close-ups of scenic vistas, narrowing down your best shots is tough.
- Natural Elements Don’t Always Cooperate: Ever had wind ruin your audio? Or glare wreck an otherwise gorgeous panorama? Brutal.
Confession moment: I once dumped $200 on stock sound effects, thinking they’d “save” my edit… Turns out poorly synced audio makes even pristine nature footage cringe-worthy.
Step-by-Step Guide to Adventure Video Editing
Step 1: Organize Your Raw Files Like a Pro
Before jumping into Adobe Premiere or DaVinci Resolve, organize those files! Create folders labeled by date or hike location so nothing gets lost in post-production chaos.
Step 2: Stabilize Shaky Clips Early On
If stabilizing manually isn’t your jam, tools like Warp Stabilizer (Premiere) or ReelSteady (for GoPros) work wonders.
Step 3: Build an Edit Structure Around Emotion
Here’s where Grumpy You might chime in—”Emotion?! Who has time?” But hear me out. A good formula is:
- Hook: Start with something jaw-dropping—a drone reveal of the summit at sunrise.
- Journey: Show snippets of preparation, struggles, laughs along the trail.
- Climax: Save the dramatic arrival or sunset view for last.

6 Tips for Polished Outdoor Footage
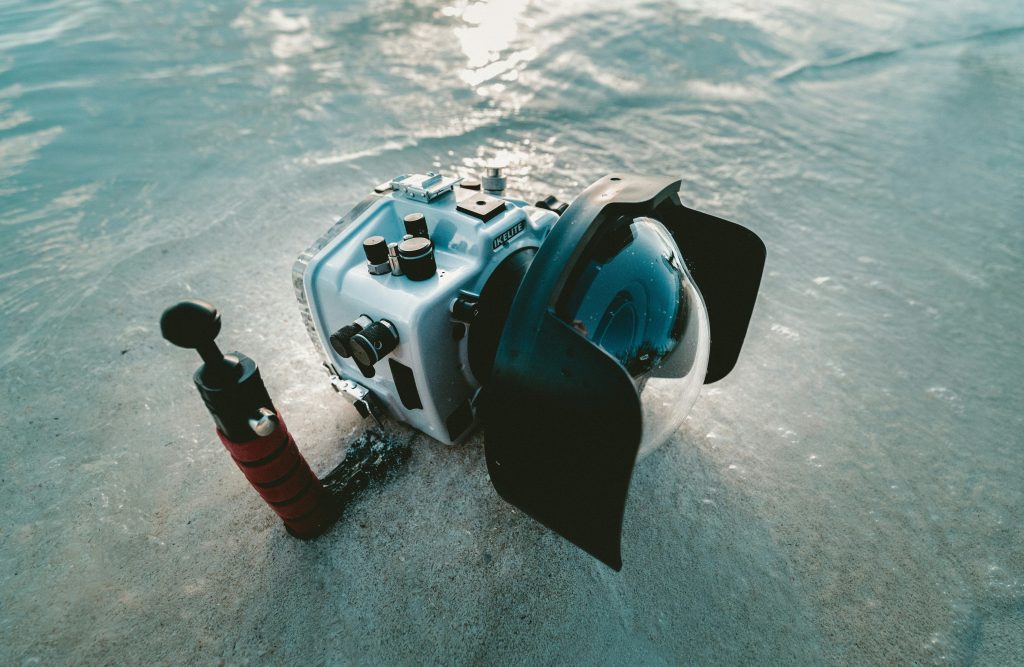
- Optimize Camera Settings Beforehand: Shoot in 4K if possible (you can always scale down).
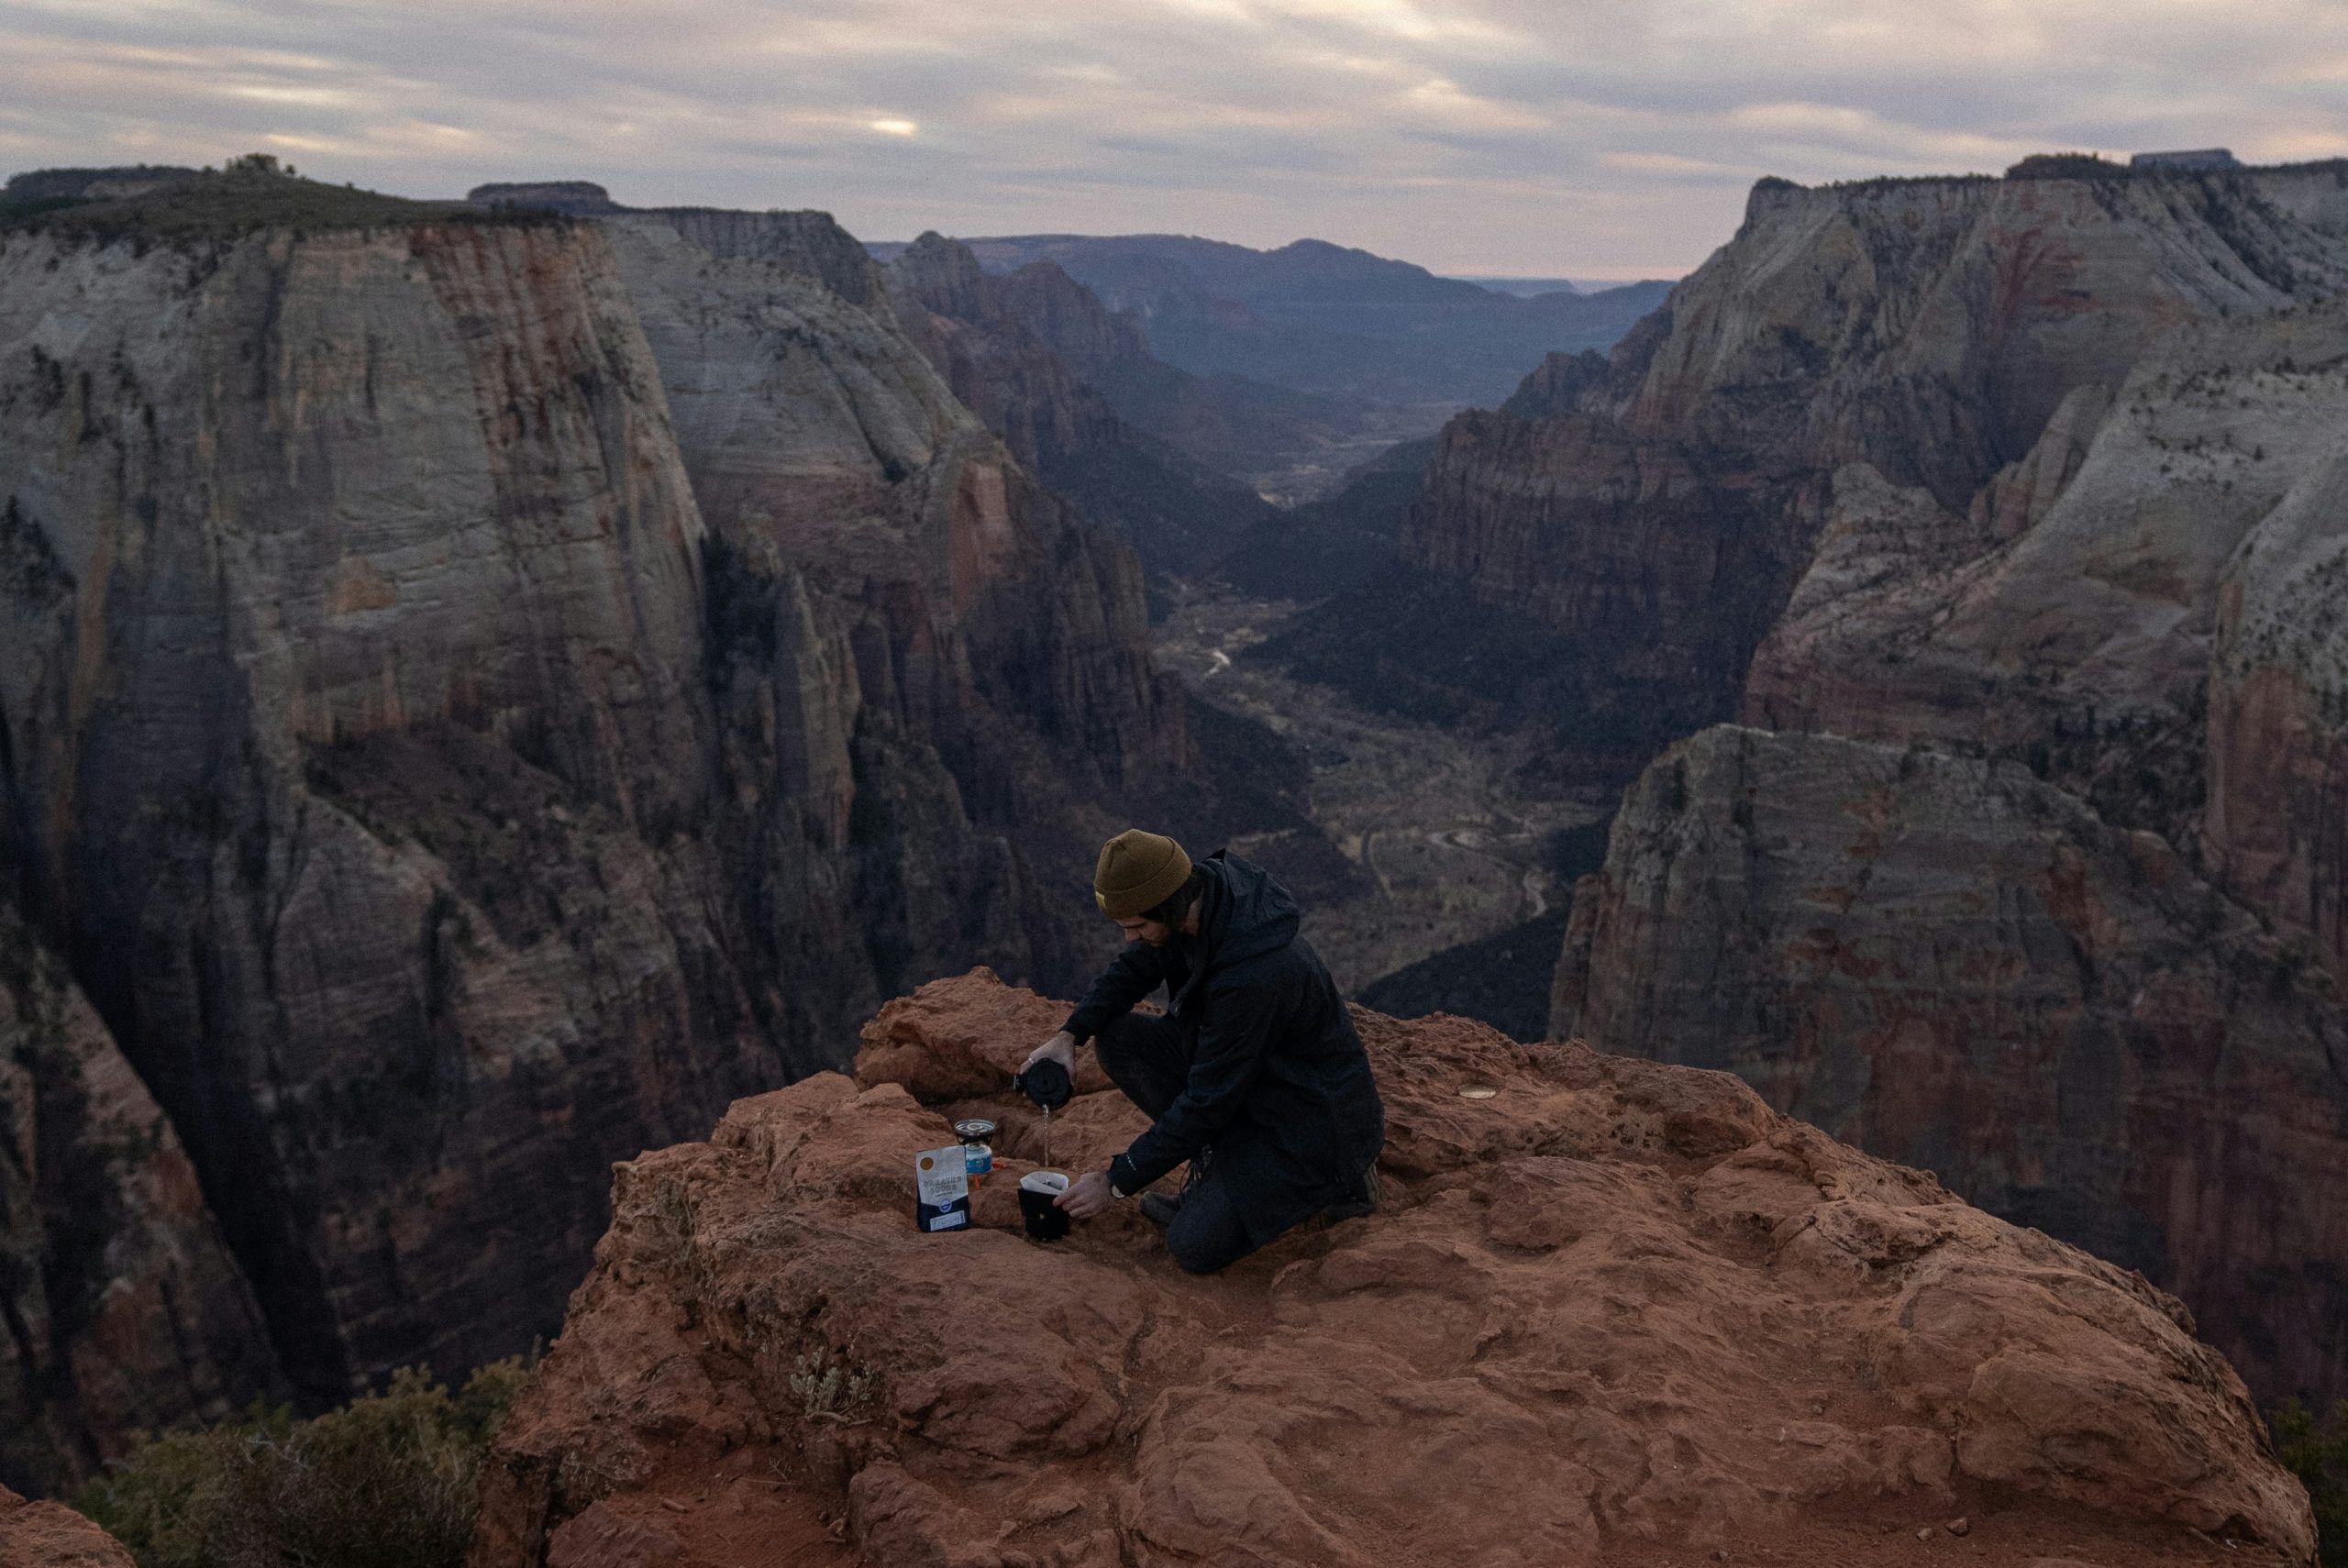
- Use Natural Light Wisely: Mornings and late afternoons give warm golden-hour magic.
- Invest in Lavalier Mics: Good audio elevates every scene—you’re welcome.
- Less Is More With Transitions: Dump the cheesy wipes and fades; stick to clean cuts.
- Tone Down the Drones: Yes, aerials are cool—but sparingly.
- Pick Music That Matches the Mood: Epic climbs = soaring orchestral scores. Chill sunsets = soft acoustic vibes.
Real-Life Example: TrailCamPro’s Viral Success Story

Remember when *TrailCamPro* blew up online with their “Best Views Under 90 Seconds” series? Their secret sauce was nailing three things:
- Simplicity: Short clips strung together with minimal fluff.
- Authenticity: Laugh-out-loud moments during rainstorms made the content relatable.
- Music Pairings: Perfectly synched beats turned hikes into dance-worthy adventures.
Frequently Asked Questions About Adventure Editing
Q: Do I need expensive software for great results?
Nope! Free tools like iMovie (Mac users) or CapCut (mobile-friendly) offer plenty of features to start with.
Q: Should I focus more on visuals or storytelling?
Storytelling wins hands down. People connect with emotions—not fancy gear lists.
Q: What’s a big no-no in adventure editing?
This one hurts: don’t slap trendy text overlays everywhere. Trust your imagery to speak louder!
Conclusion
You made it to base camp! You now know:
- How to prep and stabilize those wild clips.
- The importance of building an emotional story arc through edits.
- And most importantly, that less really IS more when it comes to flashy effects.
So grab your trusty SD card, channel your inner Spielberg, and transform those sweaty summit selfies into shareable masterpieces. Now go craft some cinematic gold—but maybe pour yourself another cup of coffee first. 😉
Random haiku moment:
Crisp air whispers truth,
Raw footage fades to artful—
Editing breathes life.