Ever headed out for a hike, only to find that your trail camera’s battery died or its lens fogged up halfway through your adventure? Yeah, us too. Nothing kills the vibe of capturing that epic elk sighting or misty mountain sunrise like a dead or underperforming camera.
In this guide, you’ll learn how to keep your trail camera in peak condition so it never misses a moment. We’re diving into everything from cleaning techniques to storage hacks, all while dropping some brutally honest truths and quirky tips along the way. By the end of this post, you’ll have a crystal-clear plan for mastering Trail Camera Maintenance. Let’s go!
Table of Contents
- Key Takeaways
- Why Trail Camera Maintenance Matters
- Step-by-Step Guide to Cleaning and Storing Your Trail Camera
- Top Tips for Keeping Your Gear Pristine
- Real Hikers, Real Results: Case Studies
- FAQ About Trail Camera Care
- Conclusion
Key Takeaways
Here’s what you need to know before we dive deeper:
- Clean your trail camera regularly to avoid dirt build-up and malfunctions.
- Battery care and proper storage are non-negotiable if you want reliability on long hikes.
- Avoid common mistakes like over-tightening screws or skipping firmware updates.
- Invest in waterproof cases and silicone gel packets for humid environments.
Why Trail Camera Maintenance Matters
Ah, the thrill of outdoor exploration! But here’s the harsh reality: no matter how rugged you think your gear is, neglecting maintenance can turn even the best trail cameras into expensive paperweights. Here’s why staying proactive matters:
- Better Footage Quality: A clean lens means sharper images of wildlife and landscapes.
- Increased Durability: Regular upkeep extends the lifespan of your equipment.
- Reliability: Imagine climbing Mount Everest (metaphorically) just to discover your SD card slot is jammed—disaster!
Honestly, folks, I once ignored my trail cam’s “low battery” warning because “it’ll probably hold out.” Guess what happened? It crapped out mid-hike, missing three days’ worth of footage. Lesson learned: don’t be lazy.
Step-by-Step Guide to Cleaning and Storing Your Trail Camera
Let’s break down the process step by step. Pro Optimist: “This will ensure your camera performs like magic!” Grumpy Me: “Ugh, but first, grab these tools and caffeinate yourself.”
Step 1: Gather Your Tools
You’ll need:
- A soft-bristled brush
- Microfiber cloth
- Compressed air canister
- Silicone spray lubricant (for moving parts)
Step 2: Power Down and Remove Accessories
Never attempt maintenance on a live device—it’s an accident waiting to happen. Turn off your camera and remove any batteries or memory cards.
Step 3: Clean the Exterior
Use compressed air to blast away dust, then gently wipe down the body with a dampened microfiber cloth. If there’s stubborn grime, add a drop of water—not soap—and buff it away carefully.
Step 4: Focus on the Lens
The lens deserves extra love. Use lens cleaner solution paired with lens-safe tissues. Avoid Windex at all costs; it ruins coatings faster than pizza leftovers disappear at a hiking campout.
Step 5: Lubricate Moving Parts
For hinges or adjustable mounts, lightly apply silicone spray. Too much? That’s worse than none—it attracts dirt like crazy.
Step 6: Store Properly
When not in use, store your trail cam in a cool, dry place. Pop silica gel packets inside the case to absorb moisture. Think of it as giving your camera its own dehumidifier spa day.
Top Tips for Keeping Your Gear Pristine
Now that we’ve walked through the nitty-gritty steps, let’s talk prevention. These quick tips might seem obvious, but trust me—they save lives (or at least cameras).
Tip #1: Always Check Firmware Updates
Firmware glitches can ruin recordings. Make updating firmware part of your pre-trip checklist.
Tip #2: Keep Batteries Charged and Fresh
Old batteries leak. Like, everywhere. Don’t take chances—swap them out regularly.
Tip #3: Waterproof Isn’t Foolproof
Even waterproof cameras hate being submerged for hours. Pair yours with a heavy-duty housing unit.
Pro Tip Gone Wrong:
I once thought sealing my camera in a Ziploc bag was a genius move. Spoiler alert: condensation turned my “genius” idea into disaster. Moral of the story? DIY solutions aren’t always legit.
Real Hikers, Real Results: Case Studies
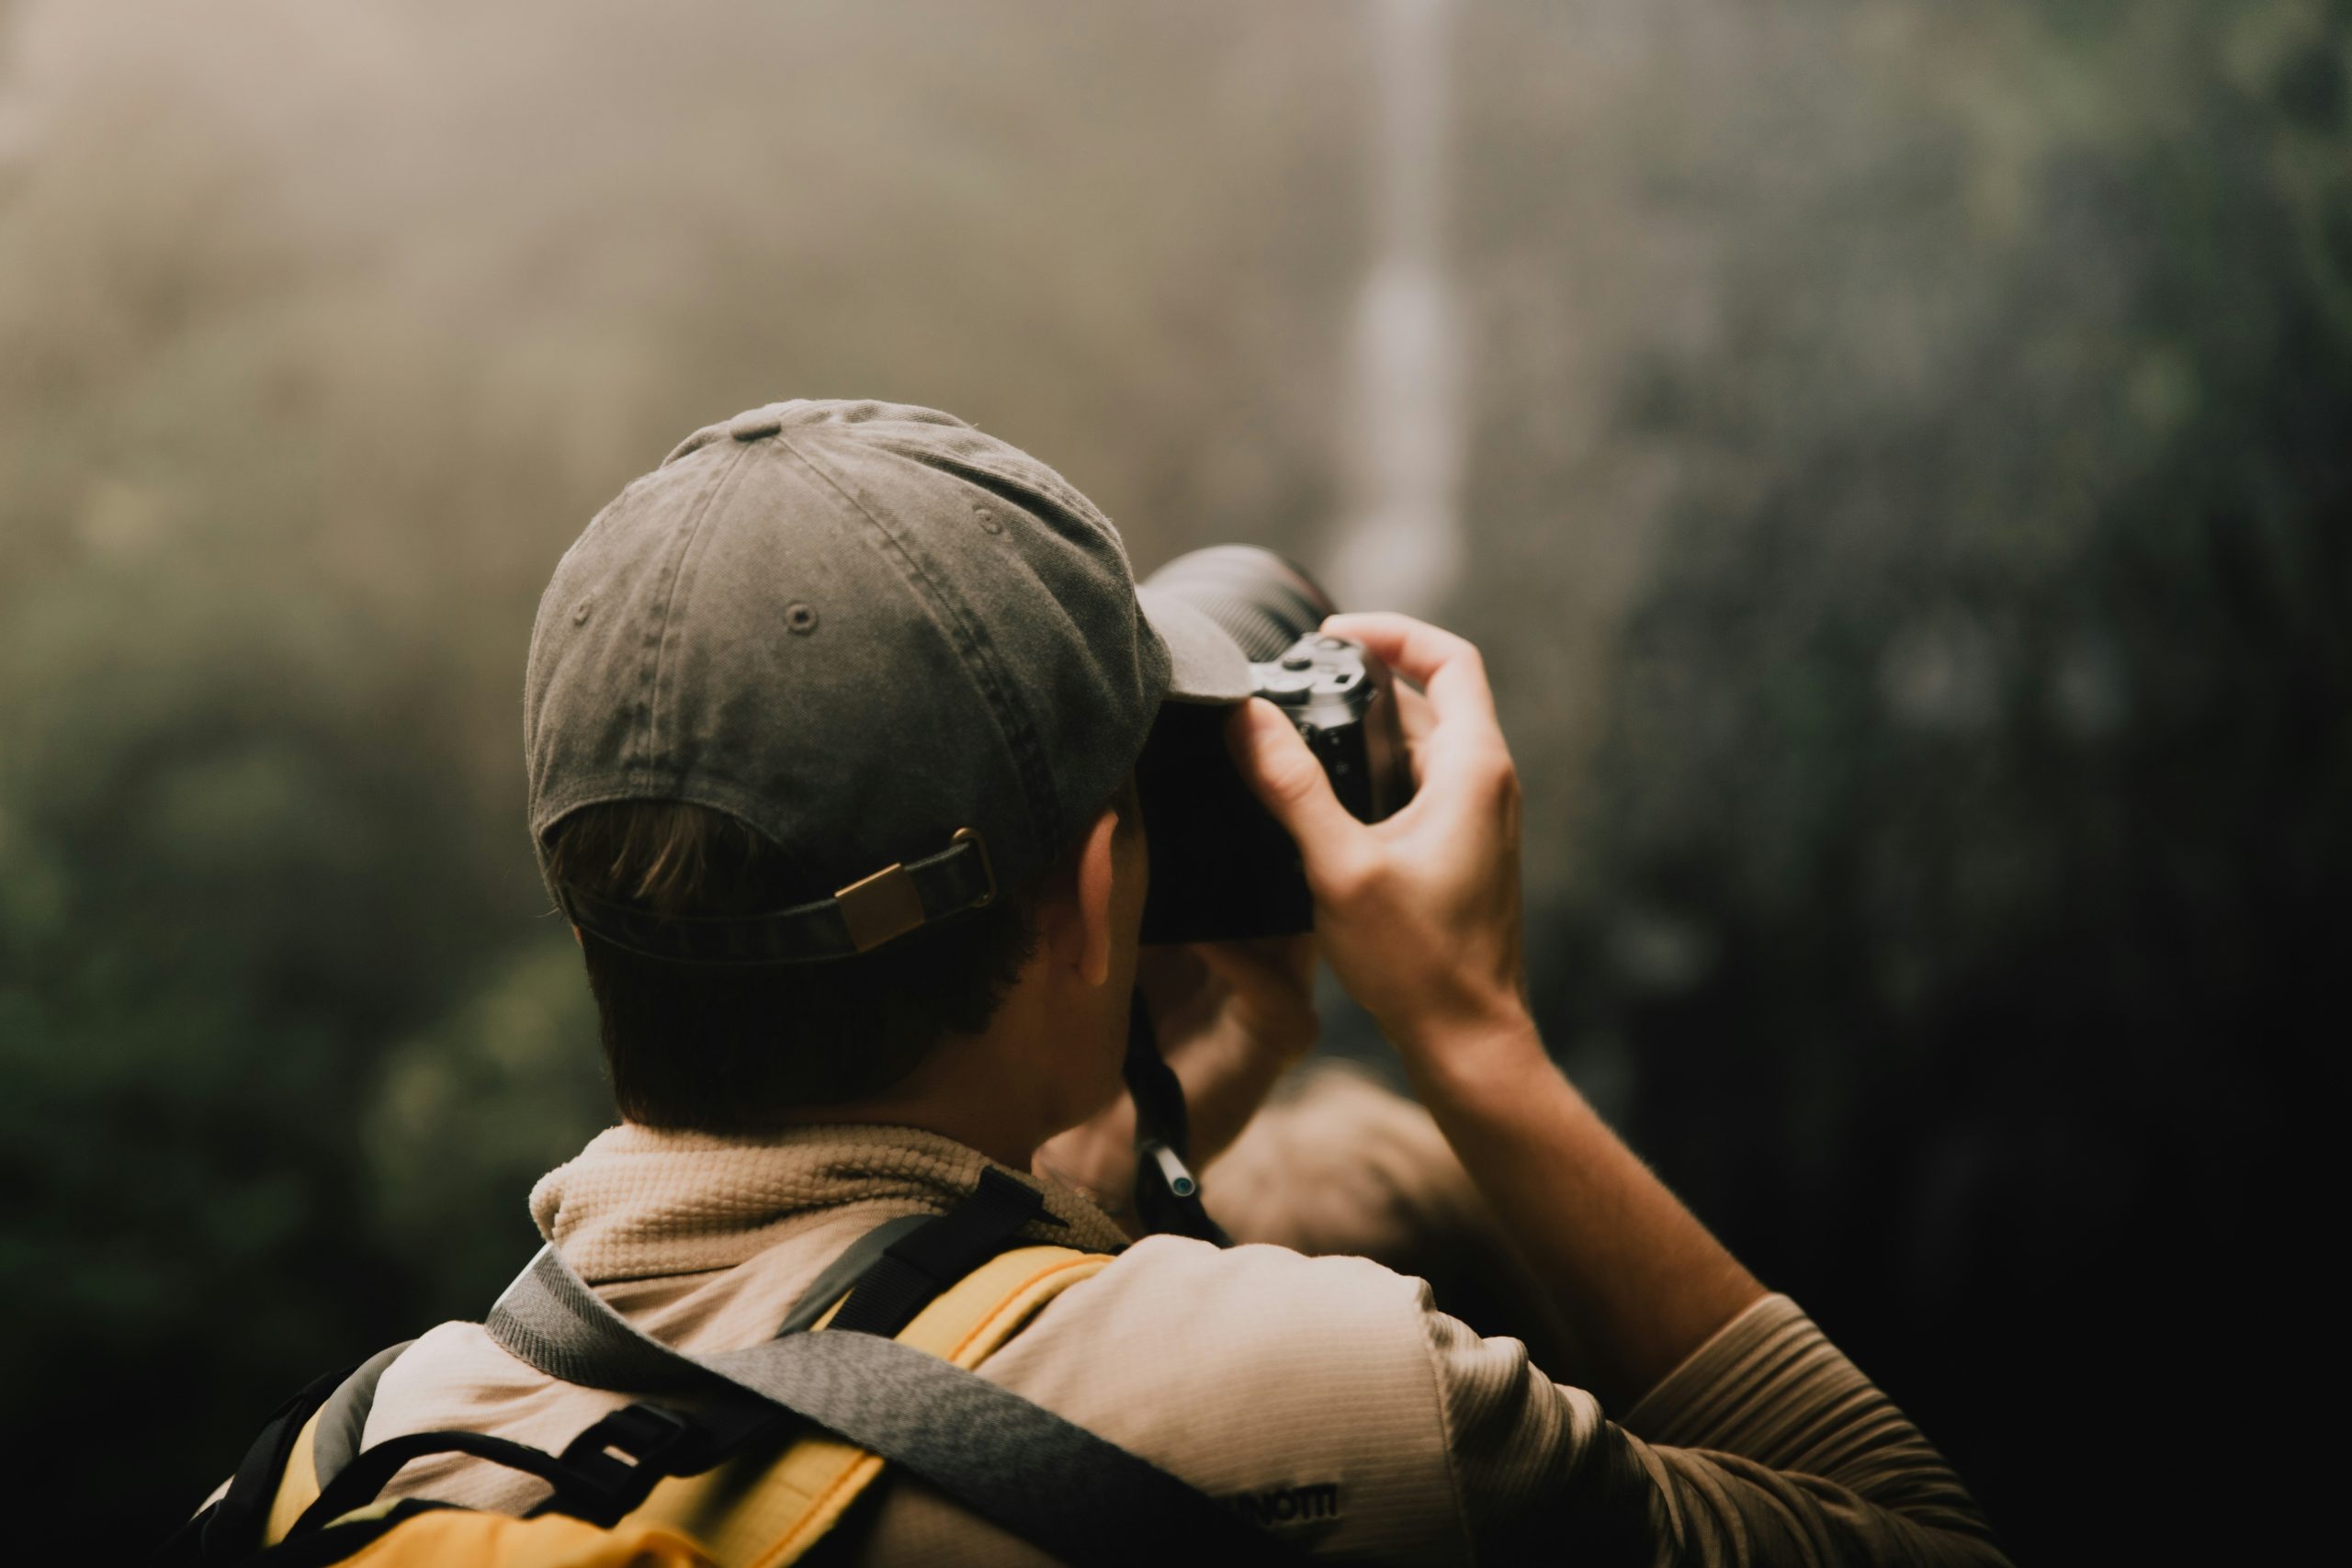
Jane D., a seasoned hiker from Colorado, put her trail camera through hell last summer during monsoon season. “It survived flash floods and mudslides,” she says, “but only because I followed every maintenance tip religiously.” Her secret weapon? Weekly lens checks and biannual deep cleans.
Conversely, Mark T., a rookie adventurer, lost two cameras within six months due to poor maintenance habits. His advice? “Learn from my mistakes. Or buy stock in replacement cameras.”
FAQ About Trail Camera Care
How often should I clean my trail camera?
Every 2-3 trips or whenever you notice visible dirt accumulation.
Can I use household cleaners on my camera?
Nope. Stick to products labeled safe for electronics.
What causes blurry photos despite good lighting?
Dirty lenses or misaligned focus settings are usually culprits. Clean and recalibrate accordingly.
Conclusion
Your trail camera deserves more TLC than a forgotten Tamagotchi. With consistent cleaning routines, smart storage practices, and some brutally honest self-accountability, you’ll keep capturing those breathtaking moments without interruption.
Remember, preventing issues beats fixing them every single time. Now get out there and document your next epic adventure!
If trail cameras could talk, they’d say thanks for reading. Here’s a little haiku to cap things off:
Dusty lens whispers,
Clean me gently, oh hiker,
Stories await thee.
