Ever spotted a moose in the wild only to fumble with your camera and miss the moment? Yeah, us too. Wildlife photography is part artistry, part endurance test—and 100% worth it when done right.
In this guide, we’ll explore how you can perfect wildlife photography techniques while hiking outdoors. You’ll learn essential tips for capturing stunning animal shots, choosing the best gear, and avoiding rookie mistakes so epic they could fuel Instagram memes for weeks.
- Key Takeaways
- The Problem With Wildlife Photography
- Step-by-Step Guide to Nailing Wildlife Shots
- Best Practices for Hiking Cameras
- Real-World Examples of Stunning Wildlife Photos
- FAQs About Wildlife Photography Techniques
Key Takeaways
- Patient observation is as important as technical skill.
- Choose lightweight yet sturdy equipment for long hikes.
- Avoid using flash—it spooks animals and ruins authenticity.
- Battery longevity matters; always carry spares during outdoor adventures.
The Problem With Wildlife Photography
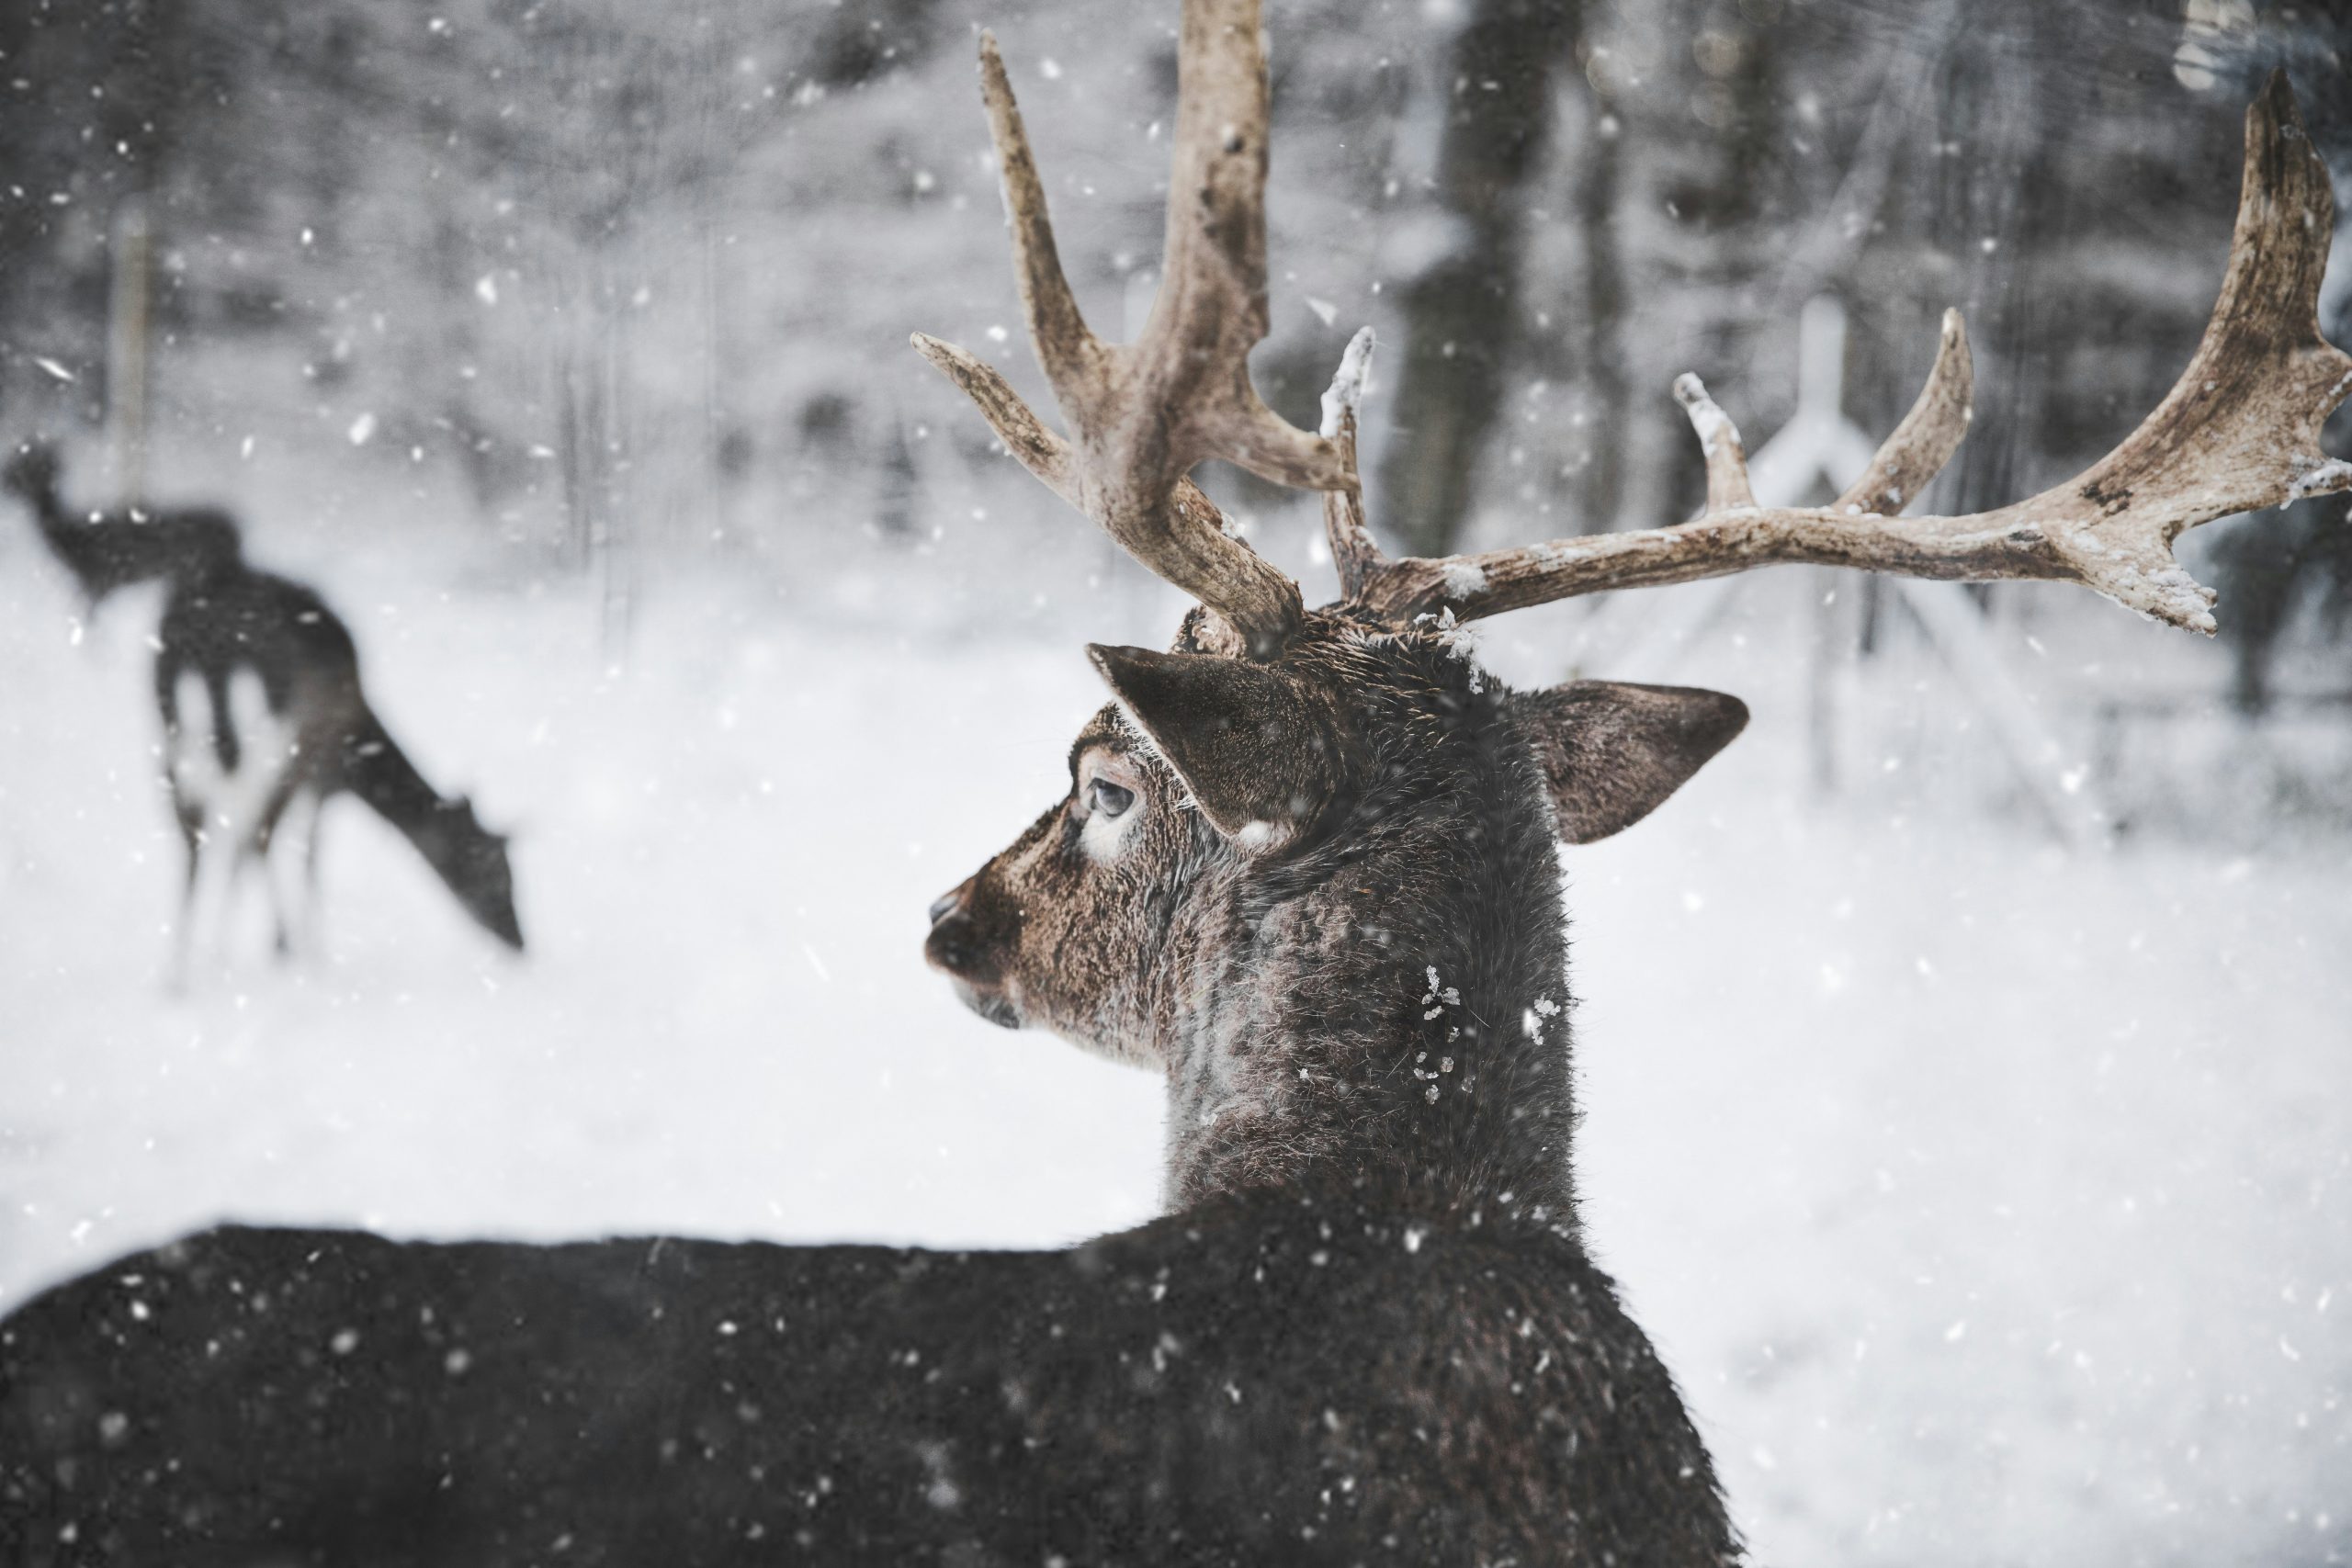
“I once tried sneaking up on an elk at dawn armed with nothing but my phone. Spoiler alert: The elk was not impressed.” Sound familiar?
For most hikers dabbling in wildlife photography, the struggle lies in balancing patience, stealth, and equipment preparedness. Add unpredictable nature behaviors into the mix, and you’ve got yourself a recipe for chaos or brilliance—depending on your approach.
Optimist You: “With practice, I’ll get better!”
Grumpy You: “Ugh, fine—but only if coffee’s involved.”
Step-by-Step Guide to Nailing Wildlife Shots
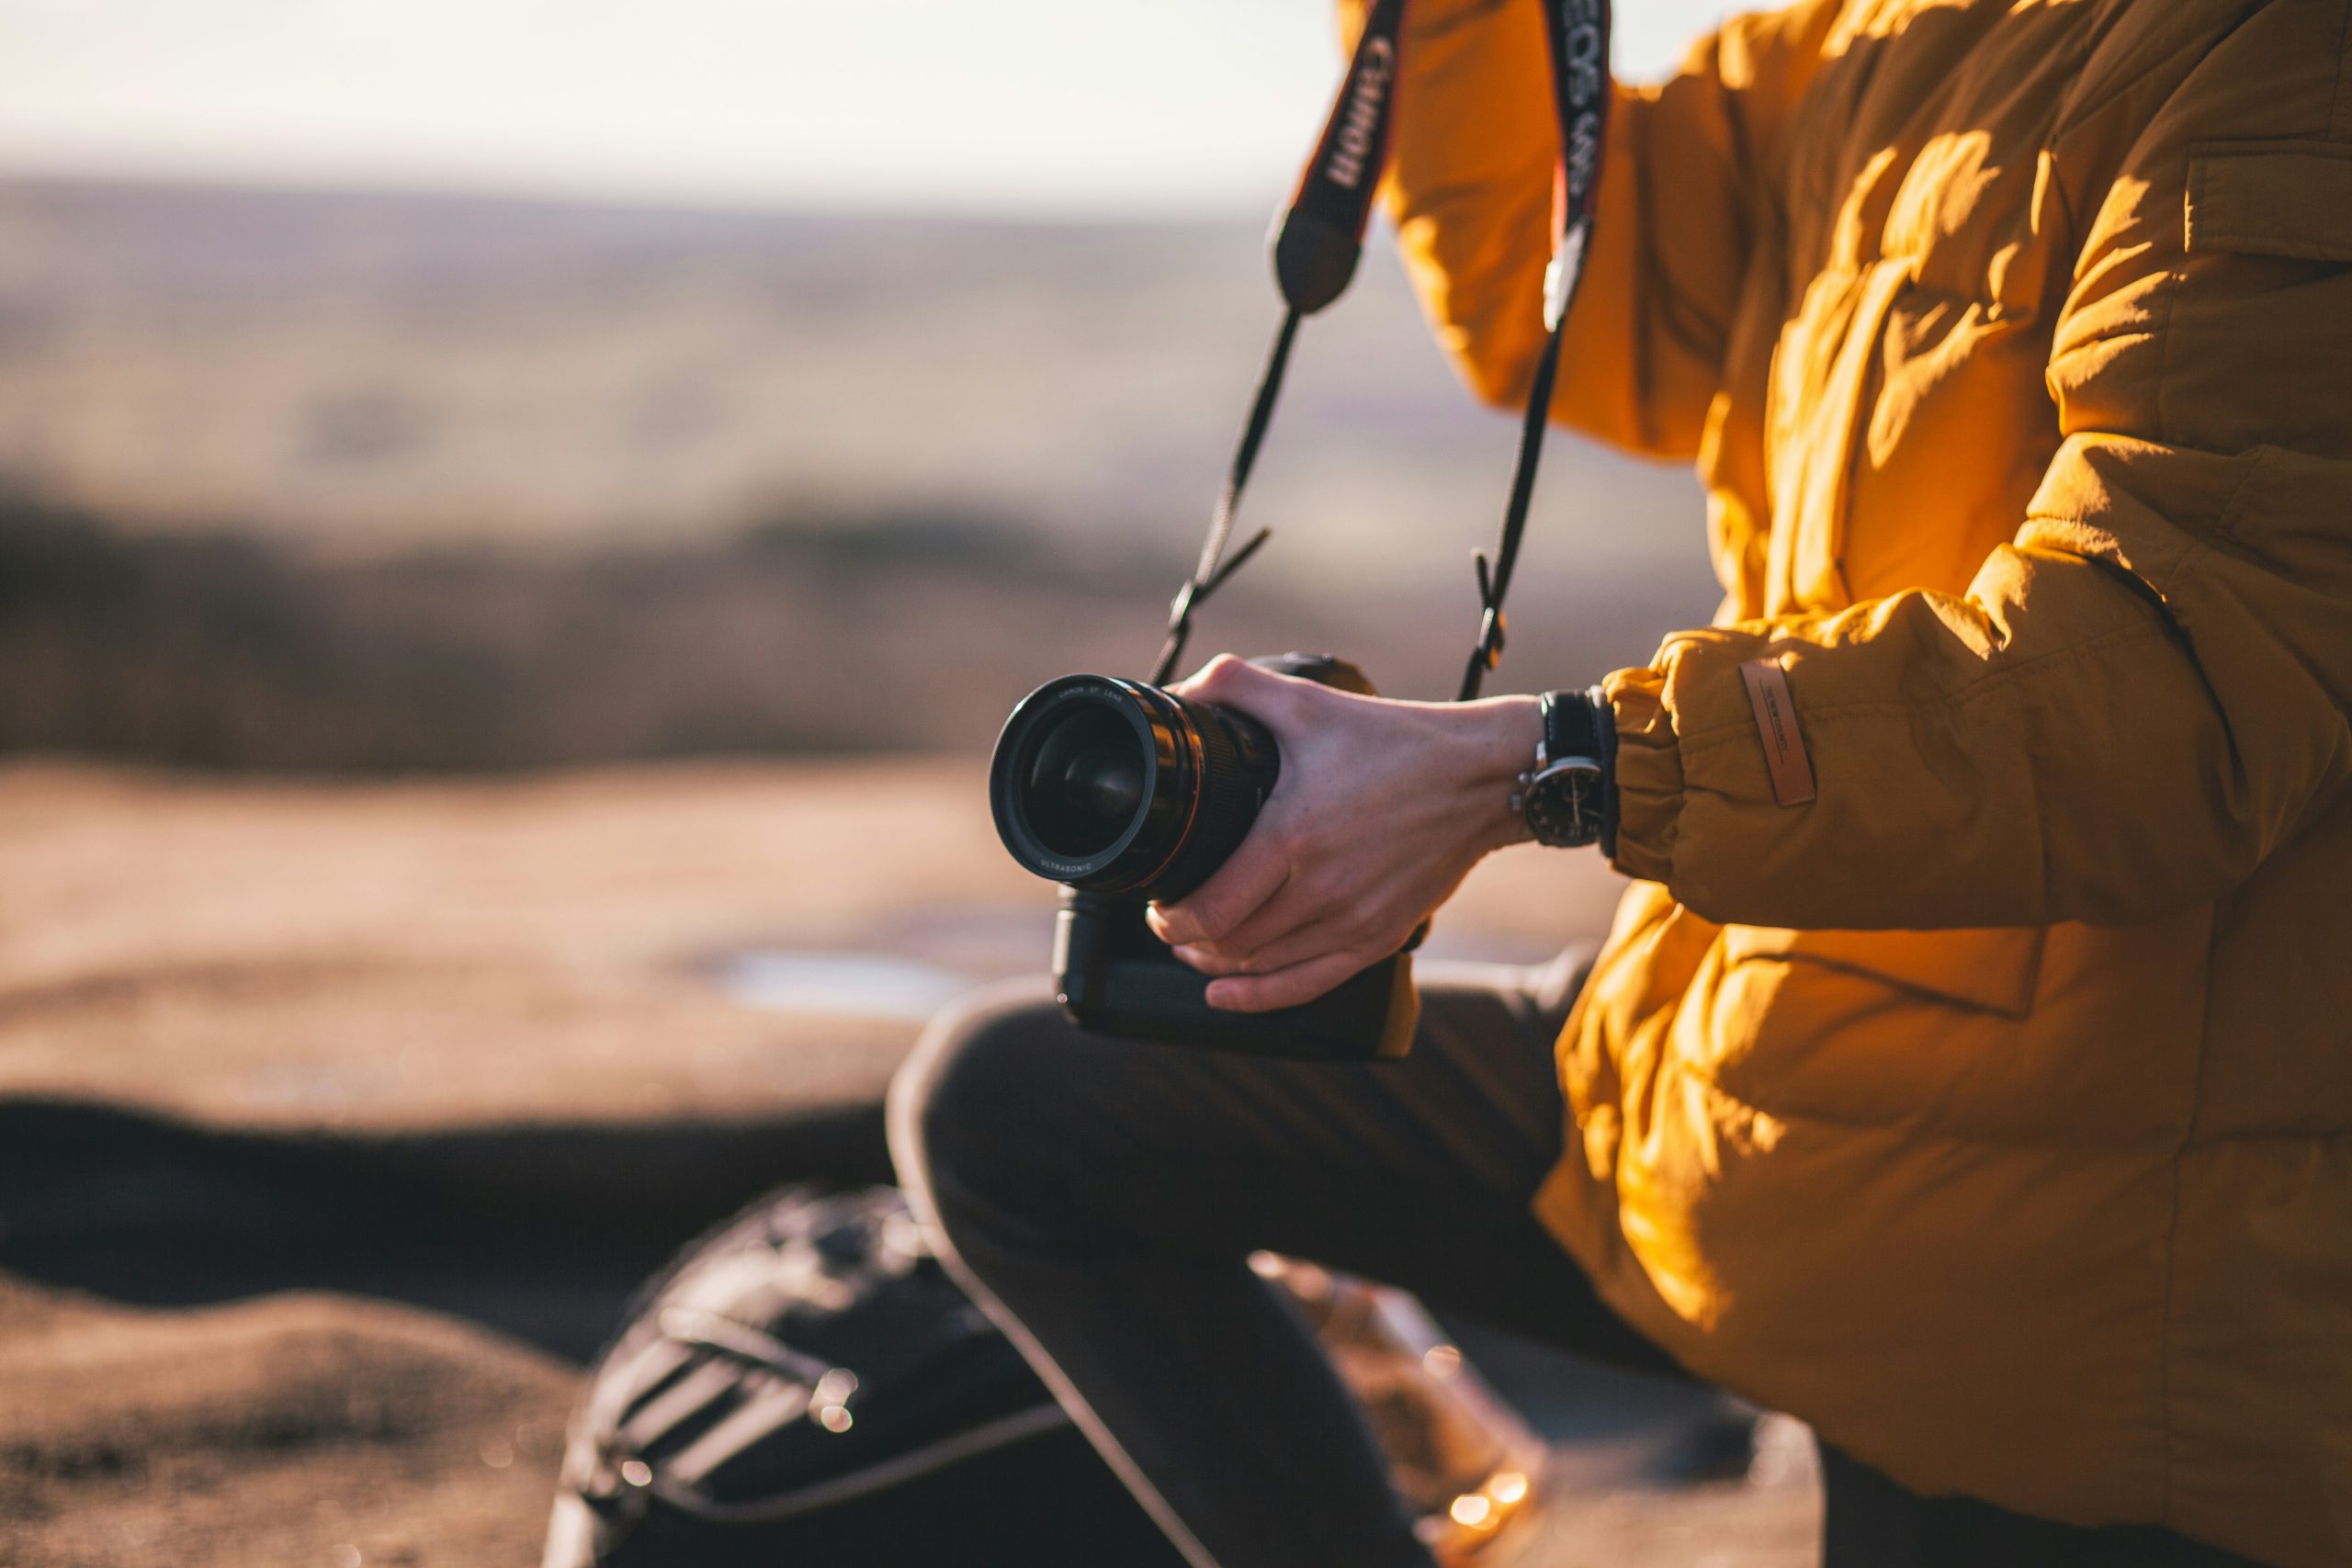
Step 1: Choose the Right Camera Setup
Your choice of camera makes or breaks your game. For hiking purposes:
- Go mirrorless—it’s lighter than DSLR without compromising quality.
- Pick lenses with zoom capabilities (e.g., 70-300mm).
- Consider weather-sealed models if you’re exploring harsh environments.
Step 2: Scout Your Location Ahead
Spend time researching trails known for frequent wildlife sightings. This preps you visually and mentally. Pro tip? Check local ranger reports—they often list hotspots!
Step 3: Master Stealth Mode
Move quietly, wear neutral colors, and avoid sudden movements. Think ninja levels of stealth (*chef’s kiss*).
Best Practices for Hiking Cameras
- Always prioritize weight: A heavy backpack kills creativity faster than anything else.
- Don’t forget extra batteries: No one likes that sinking feeling mid-shoot when your power dies.
- Bring lens cleaning tools: Dust happens. Clean lenses = sharp photos.
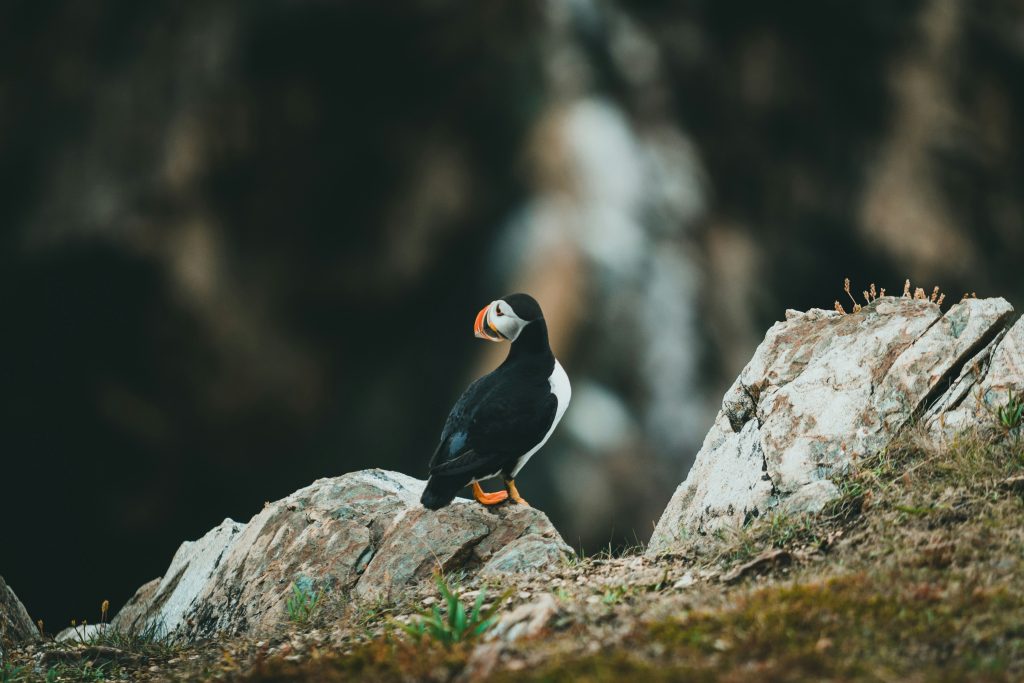
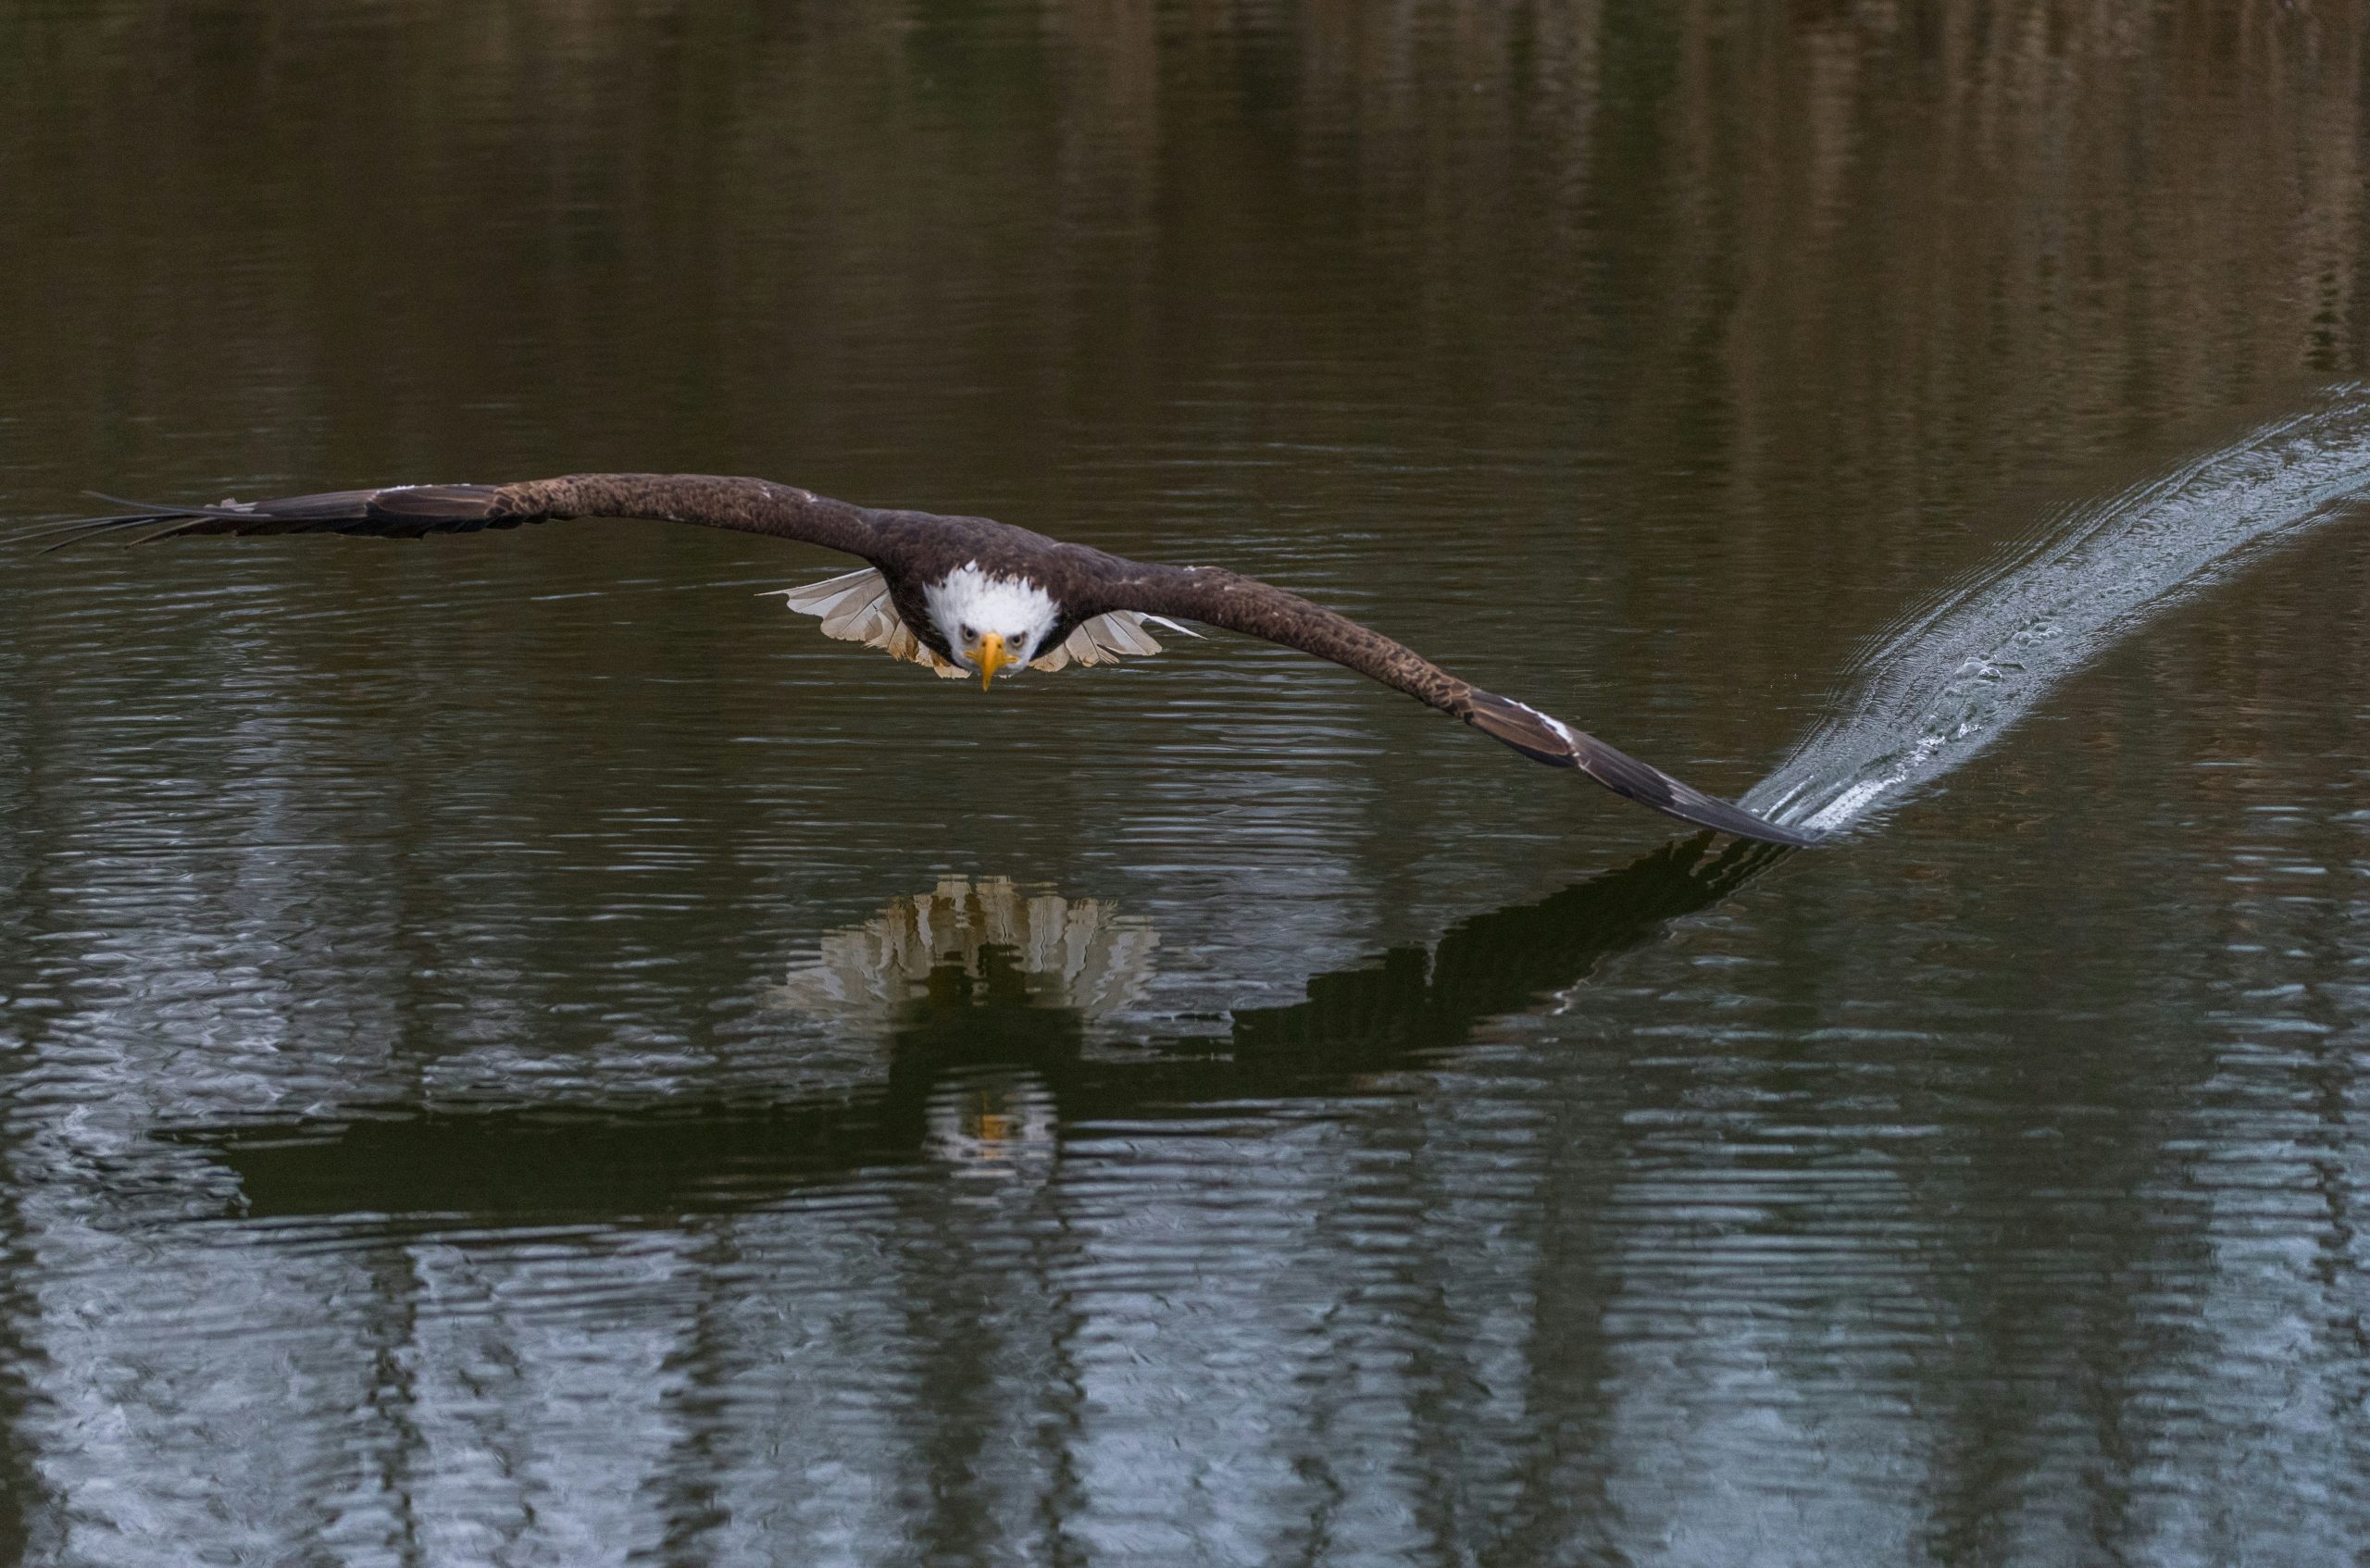
Real-World Examples of Stunning Wildlife Photos
Take Sarah L., a hobbyist who bagged her dream shot—a wolf pack crossing a river—by camping overnight near Alaska’s Katmai National Park. Her secret? She arrived early, stayed silent, and let the ecosystem come alive around her.
FAQs About Wildlife Photography Techniques
What’s the best camera for beginners?
Canon EOS R10 or Sony Alpha 6400 are solid starter options due to affordability and performance balance.
How do I deal with motion blur?
Ramp up shutter speed and use burst mode to freeze fast-moving animals.
Is post-processing necessary?
Not strictly required, but editing enhances colors and sharpens details.
Conclusion
Capturing breathtaking wildlife moments requires both preparation and adaptability. Stick to these wildlife photography techniques, choose gear wisely, and remember: Sometimes missing a shot means staying out longer next time. Because persistence, friends, is chef’s kiss combined with stubborn optimism.
Now go forth and shoot responsibly. Oh, and don’t forget coffee—it fuels all great adventures.
Like Tetris blocks clicking into place, mastering wildlife photography techniques feels just as satisfying: One small adjustment leads to perfection. Or maybe that’s just nostalgia talking. 😉