“Ever set up a trail camera and come back to footage so grainy you couldn’t tell if it was a bear or your own shadow? Yeah, that nightmare needs to end.”
Night vision trail cameras are revolutionizing hiking and outdoor exploration. Whether you’re documenting wildlife, ensuring campsite security, or just geeking out on nocturnal adventures, these devices are game-changers. In this post, we’ll dive into the nitty-gritty of choosing, setting up, and mastering night vision trail cameras for your next adventure.
Here’s what you’ll learn:
- The pain points hikers face with traditional trail cams.
- A step-by-step guide to setting up your night vision camera.
- Bonus tips to elevate your nighttime hiking game (including one “meh” tip that I’ll rant about later).
Table of Contents
- Key Takeaways
- The Problem with Regular Trail Cameras
- How to Choose and Set Up Your Night Vision Camera
- Best Practices for Capturing Jaw-Dropping Nighttime Footage
- Real-Life Success Stories from Outdoor Explorers
- FAQs About Night Vision Trail Cameras
- Conclusion
Key Takeaways
- Night vision trail cameras provide sharper, more reliable footage in low-light conditions compared to standard models.
- Choosing the right placement is critical—height, angle, and distance matter more than you think.
- Poor battery life can ruin your setup. Opt for solar-powered options or extra batteries.
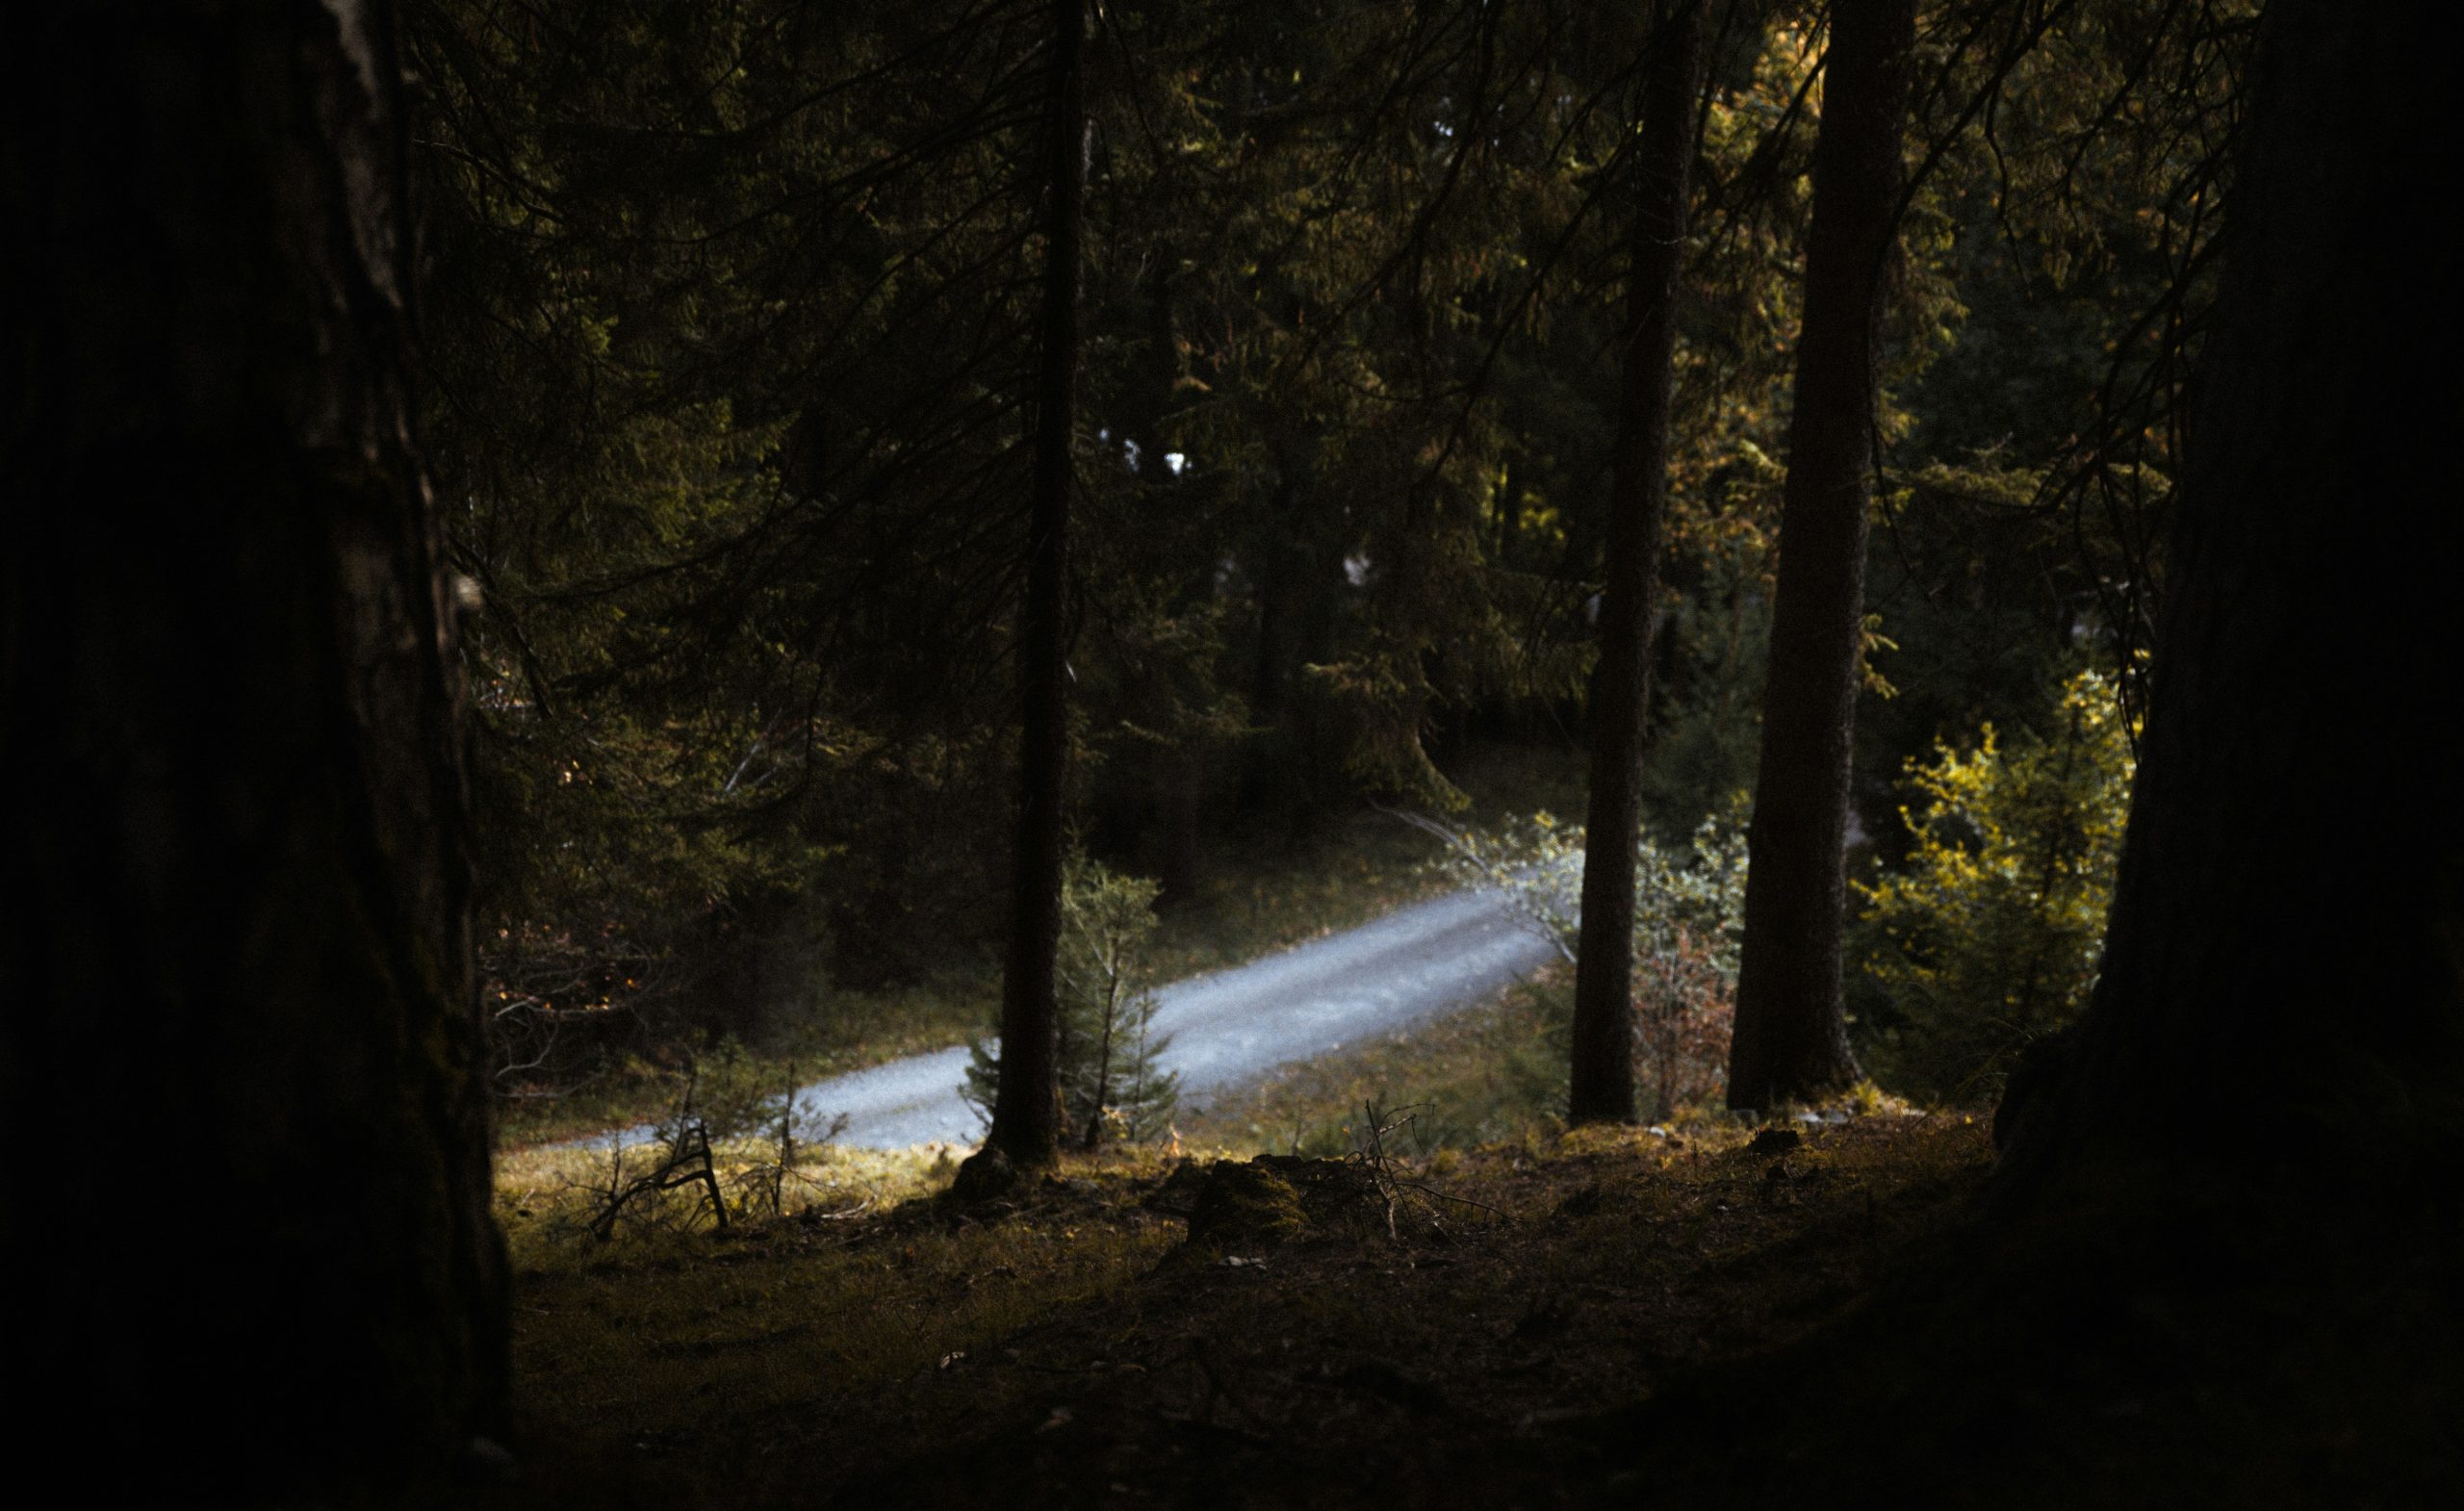
The Problem with Regular Trail Cameras
Remember the time I strapped an old-school trail cam to a tree hoping to catch some deer action at dusk? Spoiler alert: All I got were blurry blobs moving through pitch darkness. And let me tell you, trying to ID those blobs over coffee was not “chef’s kiss,” but rather “ughhh” territory.
Standard trail cameras struggle with low-light performance because they rely on outdated infrared LEDs or simply lack sensitivity. This forces hikers like us to settle for subpar images—or worse, no images at all during overnight sessions.
“Blurry Blob Syndrome” is real—and frustrating.
Grumpy Optimist Dialogue:
Optimist You: “Hey, at least you got *something*!”
Grumpy Me: “Yeah, something utterly useless. Thanks, Mother Nature, for teaching me patience… again.”
How to Choose and Set Up Your Night Vision Camera
Okay, here’s where the magic happens. Follow these steps to pick and deploy a camera worthy of your epic hikes:
Step 1: Look for Low-Lux Ratings
Low-lux ratings indicate how well a camera performs in dim lighting. Aim for specs below 0.01 lux—anything higher might as well be a paperweight after sunset.
Step 2: Check Detection Range
Your camera should cover at least 50 feet of detection range. Anything less, and animals could waltz past without triggering it. Imagine missing Bigfoot because your tech wasn’t ready. Tragic.
Step 3: Placement Is Everything
Mount your camera 4-6 feet above ground, angled slightly downward. Avoid obstructions like branches that might block the lens or trigger false activations.
Proper placement = better results!
Best Practices for Capturing Jaw-Dropping Nighttime Footage
Now that you’ve got your gear sorted, nail these techniques for flawless recordings:
- Use Natural Cover: Camouflage your device with leaves or bark to avoid alarming wildlife.
- Check Weatherproofing: Don’t be “that guy” who loses their $300 investment to rain. Go waterproof.
Terrific Tip #3: Leave it running all year long.Totally terrible idea unless you want dead batteries and corrupted SD cards. Seriously, clean it out every few months.
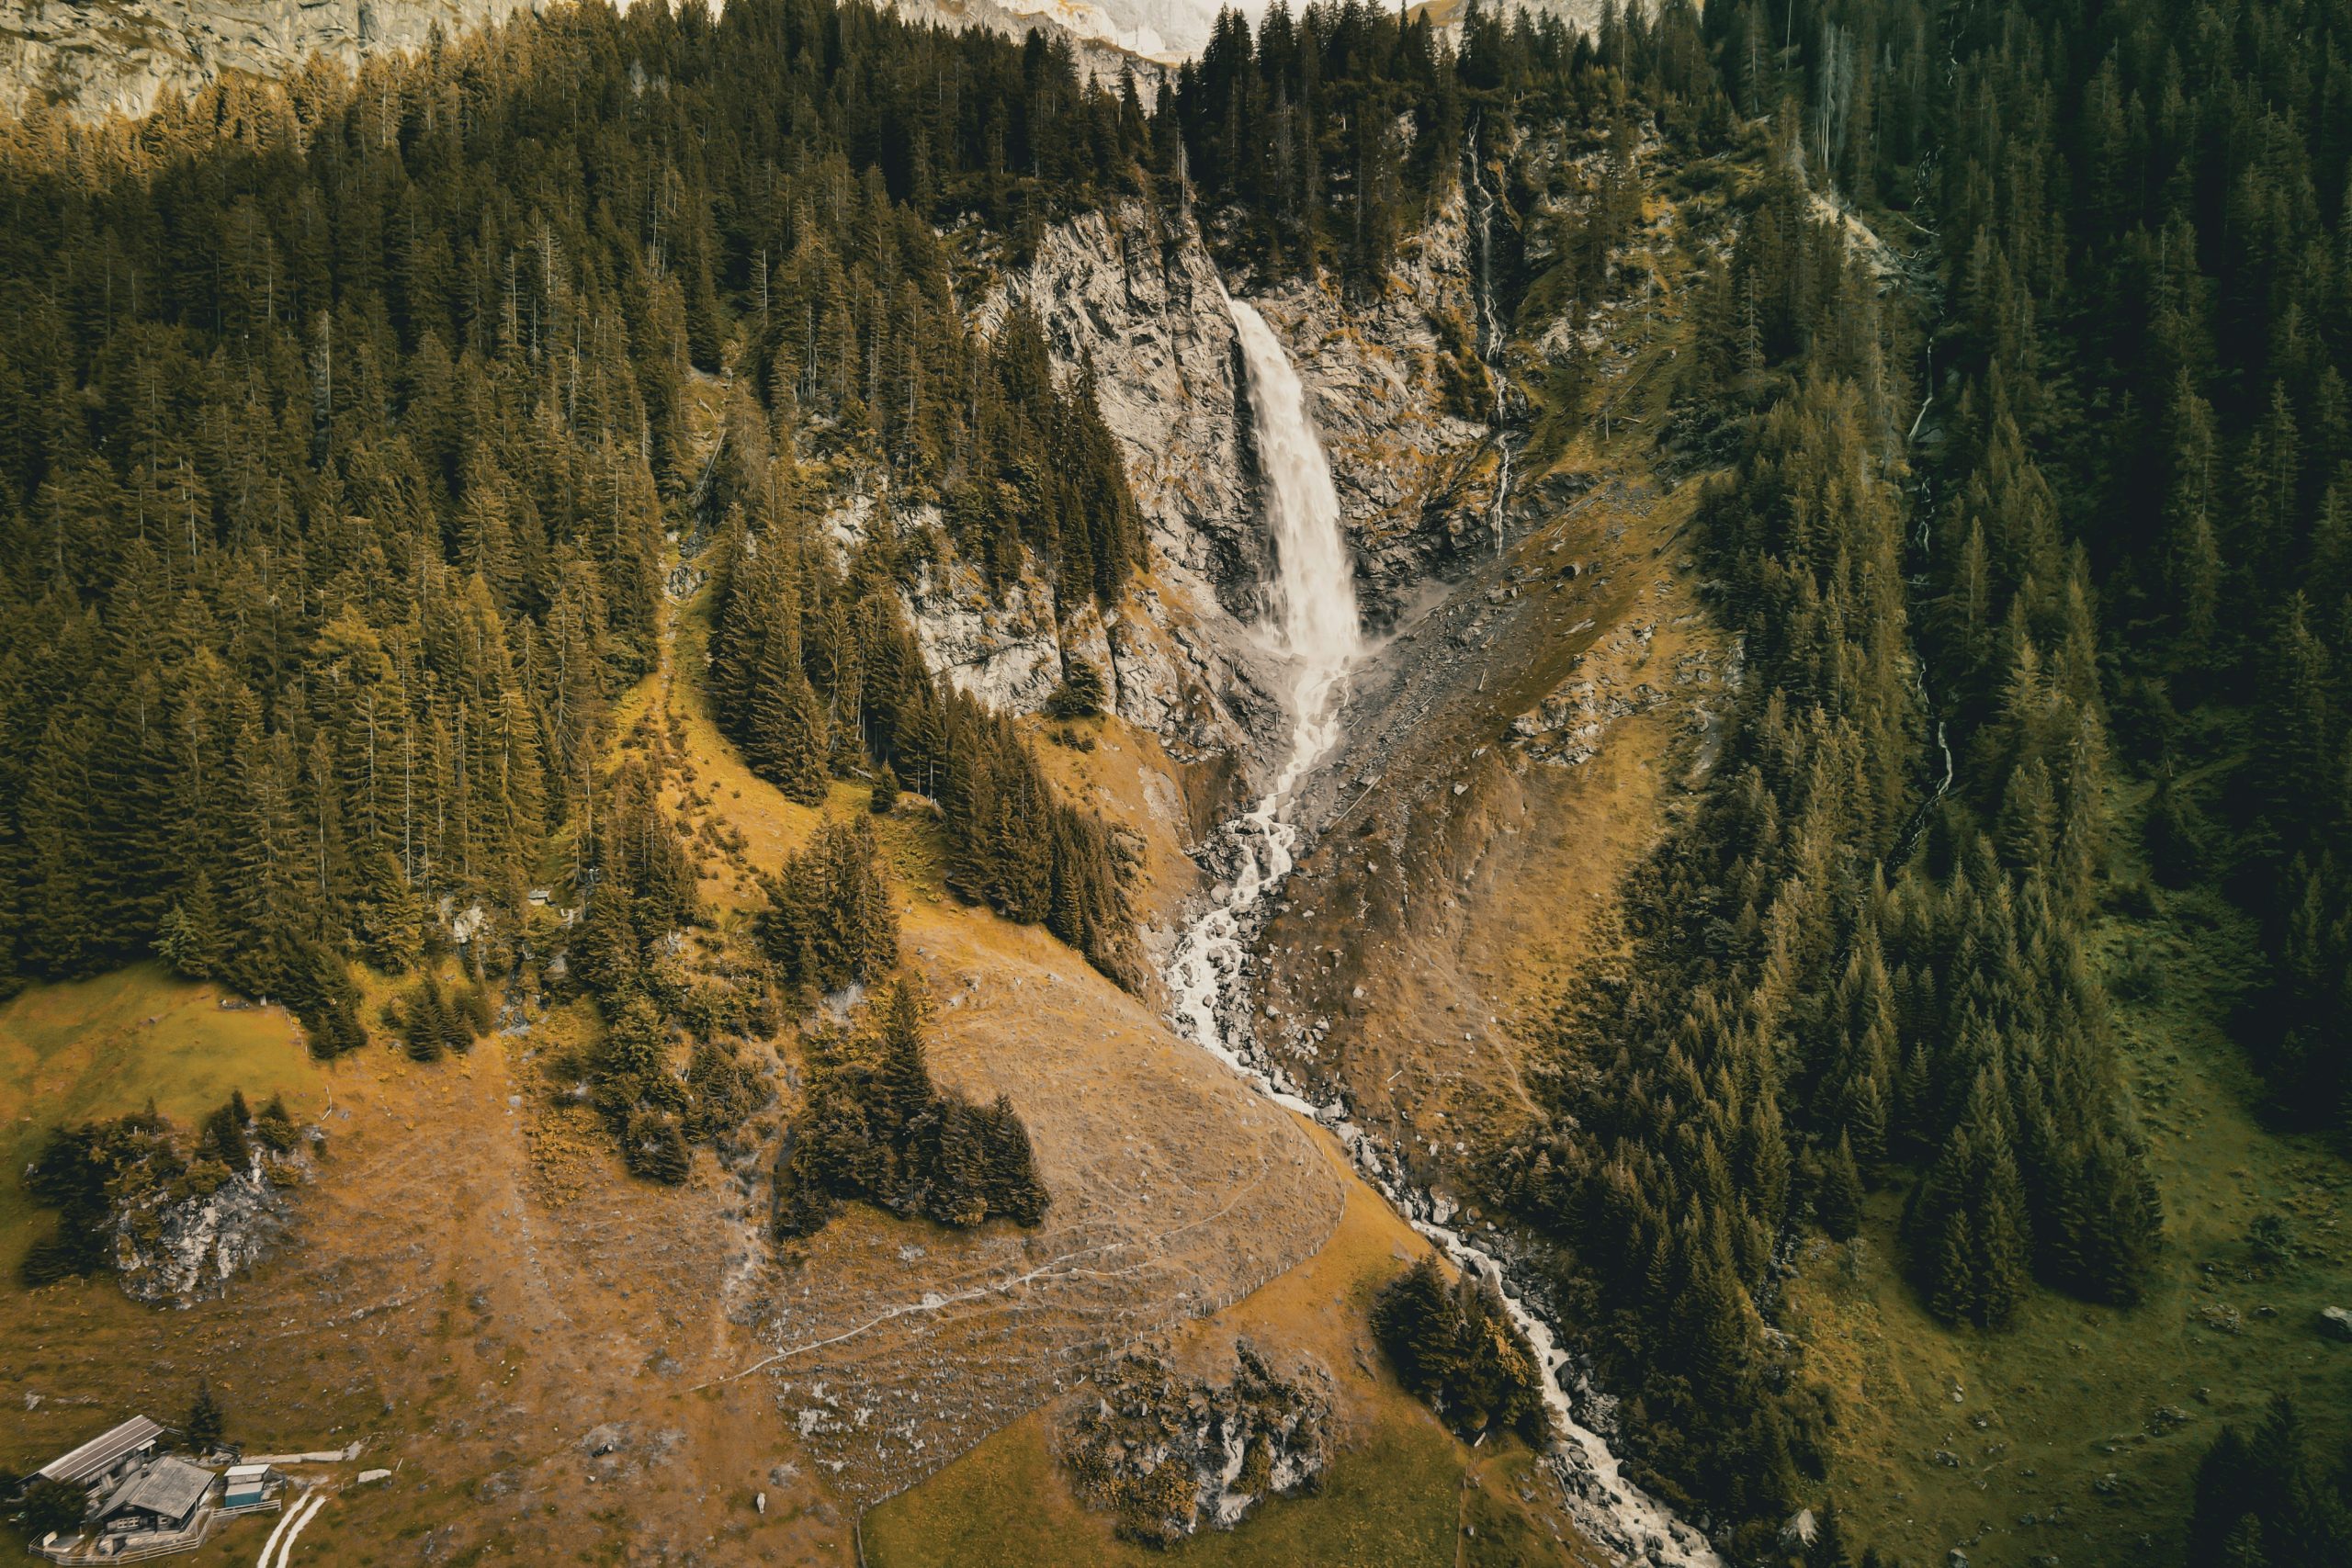
Real-Life Success Stories from Outdoor Explorers
Sarah M., an avid hiker based in Colorado, used a top-tier night vision trail camera to capture stunning footage of mountain lions near her campsite. Her secret? Strategic placement combined with motion sensors finely tuned for feline behavior.
This majestic beast made Sarah’s trip unforgettable.
Not convinced yet? Another explorer documented rare bird migrations thanks to his durable night vision setup. The result? A documentary-worthy reel proving he didn’t spend three weeks in the wild for nothing.
FAQs About Night Vision Trail Cameras
Can Night Vision Cameras Work Without Moonlight?
Absolutely! With high-quality infrared technology, most premium models operate independently of external light sources.
Do These Cameras Scare Animals Away?
Nope—if properly hidden and mounted, animals won’t even notice them. They’re stealthier than ninjas. Okay, maybe not ninjas, but close enough.
Are Solar-Powered Options Worth It?
If you plan long-term deployments, absolutely. No need to constantly swap batteries while embracing the great outdoors.
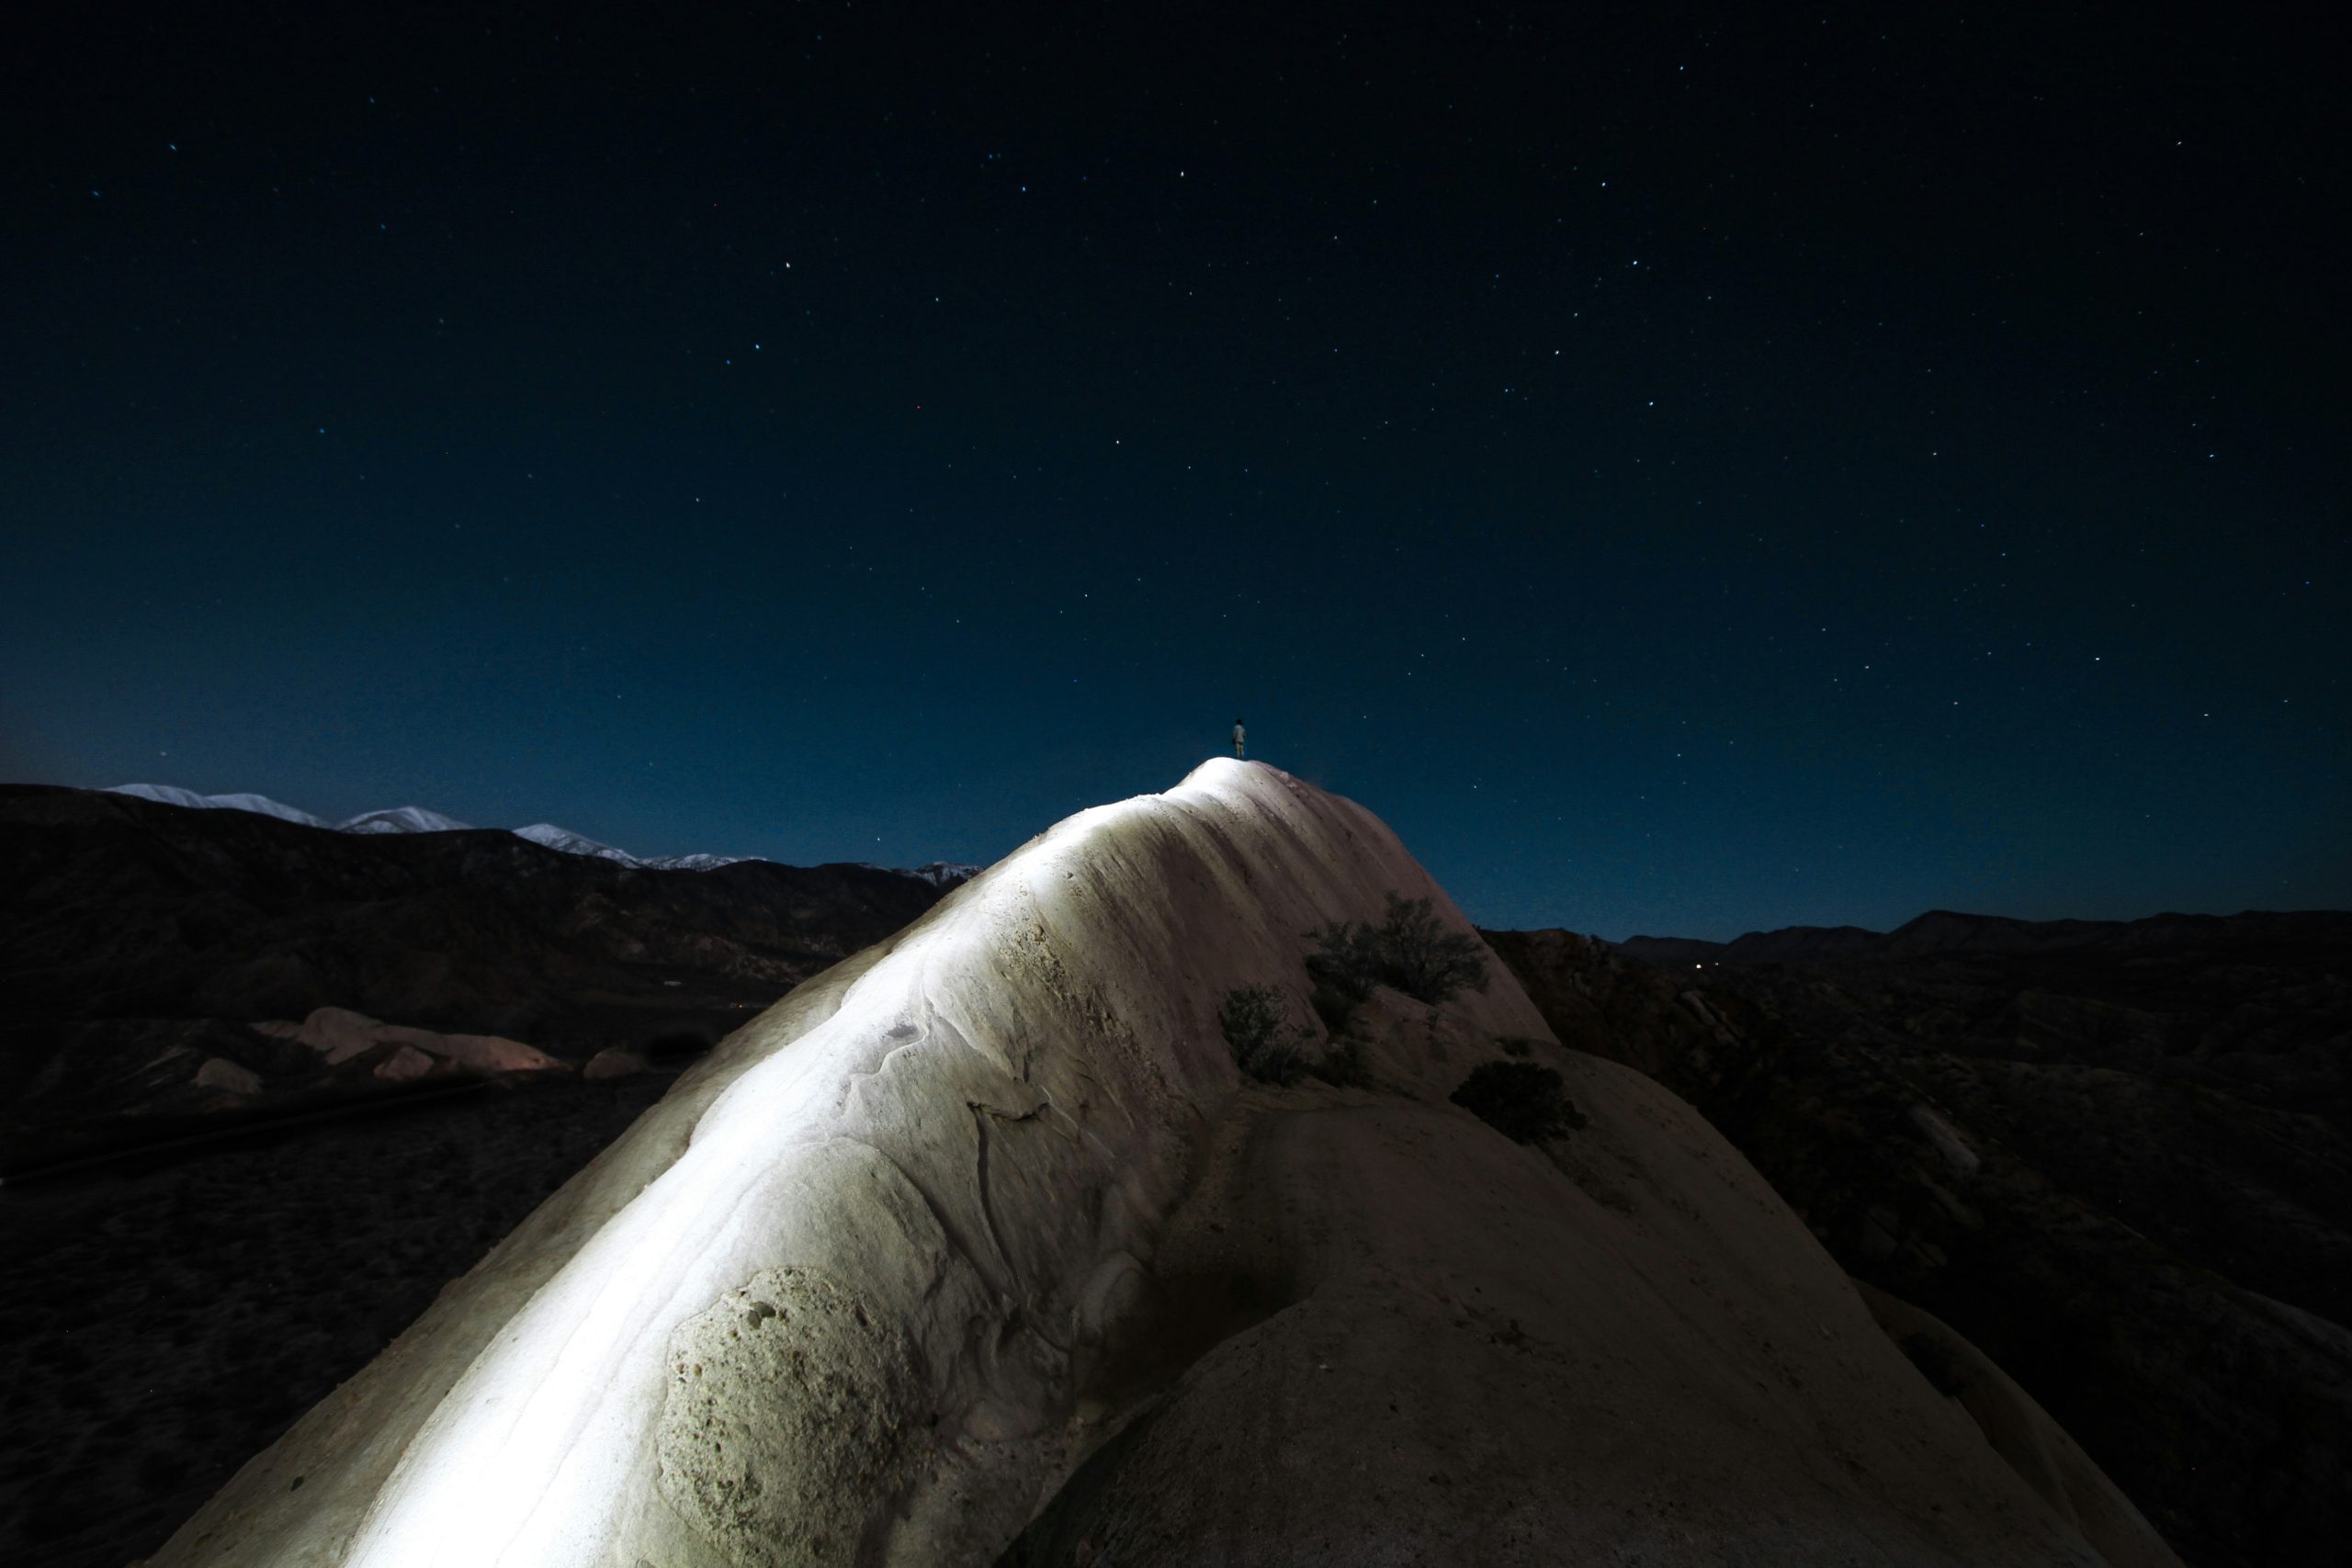
Conclusion
Night vision trail cameras aren’t just tools; they’re gateways to untold stories waiting beneath starlit skies. Armed with the knowledge shared here, you’re now ready to conquer any challenge—from pesky shadows to elusive wildlife.
So charge those batteries, pack your gear, and embrace the thrill of discovery. Who knows what secrets the forest holds?
And remember, much like a Tamagotchi, your camera needs daily love—clean lenses, charged batteries, and careful adjustments—to thrive.
Dark woods, stars above,
Hidden trails reveal wonders,
Your camera whispers.